Defect Card Tier List in Slay the Spire
Ranked list of all Defect cards in Slay the Spire, a quick breakdown and a ranking on every attack, skill and power card.
Updated by Reddit Community in Slay the Spire
Intro
The Defect Card Tier List is based on various opinions combined. The main source of information comes from cards discussions in Reddit community. Ranks, from D to S, are the average of those made by Baalor and Frost Prime. You can visit their channels for more information on different aspects of the game, or to watch them play Slay the Spire live.
Ironclad Tier List:
https://single-player.org/post/85-ironclad-card-tier-list-in-slay-the-spire
Silent Tier List:
https://single-player.org/post/86-silent-card-tier-list-in-slay-the-spire
Watcher Tier List:
https://single-player.org/post/89-watcher-card-tier-list-in-slay-the-spire
Cards in this Defect list are ordered by Rarity (Common, Uncommon, Rare) and Type (Attacks, Skills, Powers).
Common Defect Cards
There 18 commons in Defect's deck: 10 attacks and 8 skills.
Ball Lightning
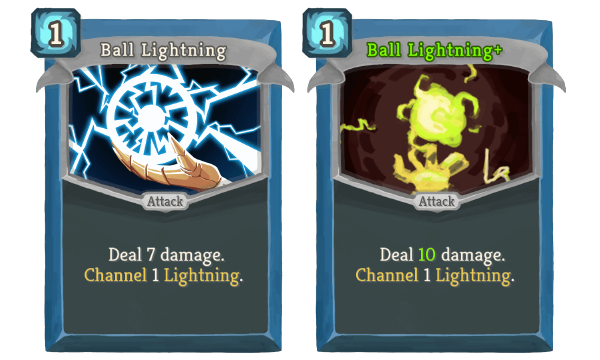
Ball Lightning is a top choice for Act 1. This 1-energy card deals 7-10 upfront damage and continues with 3 passive damage. Great against elites, especially against Gremlin Nob because it generates a Lightning without a skill. It remains useful for orb cycling in later acts.
Rank: A
Barrage

Barrage offers remarkable scaling potential, dealing up to ten hits with a full set of orb slots. Upgrading it is important for a substantial +50% damage boost.
The card may feel underwhelming in the early game when orb generation is scarce, but when paired with cards like Ball Lightning and Cold Snap, it becomes a strong choice for Act 1. Capacitors or Inserter make Barrage a reliable source of damage later in the game.
Rank: A
Beam Cell
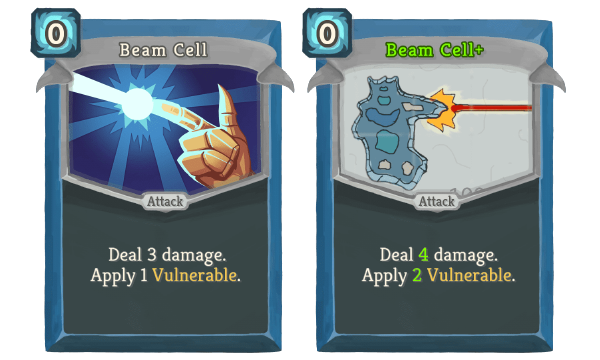
Often an underrated choice for Defect, Beam Cell enhances front-loaded damage. It pairs effectively with high-damage physical attacks like Sunder, Streamline, Melter, or Barrage. While it might not fit seamlessly into the ideal Defect orb-scaling deck, it fills a 0-cost niche role well. It has notable synergies with All For One, Scrape and Hologram. You'll usually welcome this card in your hand early on, and it can remain valuable even in later acts. However, it may clog your deck when you need to prioritize powers and orb-scaling cards.
Rank: B-
Claw
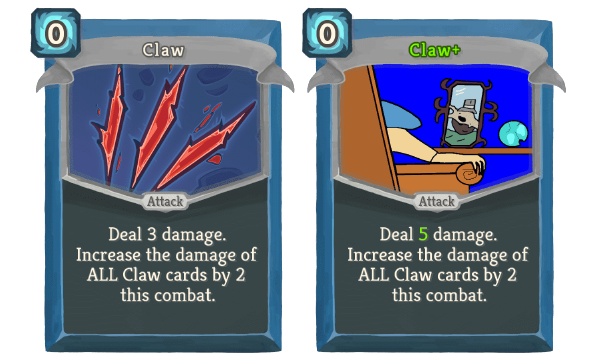
Claw deals an escalating amount of damage by amplifying all Claws in a deck. The potential for massive hits at no cost is very appealing, which may lead to acquiring as many copies as possible, while removing and avoiding anything else. However, this strategy may cause a significant problem: a clogged hand with no reliable defensive solutions. Because Claw’s output is relatively unimpressive at the start of a fight, you may suffer HP losses in many fights.
The safest way to play the Claw card is to acquire it when you already have good synergies in place. These include Unceasing Top and Blue Candle for infinite draw, Hologram, Rebound, and All for One for repeated use of the same Claw, Ninja relics to benefit from each attack, and better draw options.
Rank: C+
Cold Snap
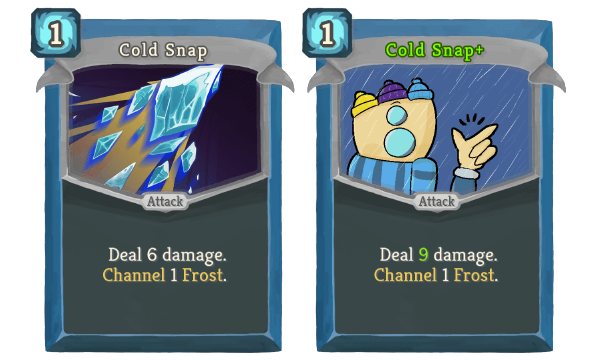
Cold Snap is a phenomenal Defect card that offers both damage and block. Act 1 is all about grabbing damage wherever you can find it, and having a reliable source of block that's safe to play against Gremlin Nob is invaluable.
Cold Snap becomes less appealing as a card reward in later acts, being overshadowed by Coolheaded or Glacier, but it still remains a solid source of Frost orbs.
Rank: A
Compile Driver

Compile Driver is a valuable card for Defect, providing a blend of damage and card draw that remains useful throughout the game. The more Orb types you have, potentially up to four different, the more cards it draws. Its versatility and consistency make it a solid choice for Defect decks, particularly those that prioritize orb variety and energy generation.
Rank: B+
Go for the Eyes

Go for the Eyes applies a Weak debuff being a zero-cost attack. It's the only source of Weak for Defect.
Go for the Eyes is especially good against the Awakened One. Since the boss attacks every round, the Weak conditions are always met.
With Runic Dome, having the card in your hand gives a way to discover enemy intentions (it glows yellow).
Rank: B+
Rebound

Rebound is a card in Defect's deck that provides deck manipulation, somewhat akin to Ironclad's Headbutt. This can be advantageous when you want to repeatedly use a specific card, such as Claw, Streamline or Darkness+.
However, Rebound can be situational and clunky to use, particularly if you lack a suitable card in your hand or if you don't have the necessary energy and card draw to support its inclusion.
Rank: C+
Streamline
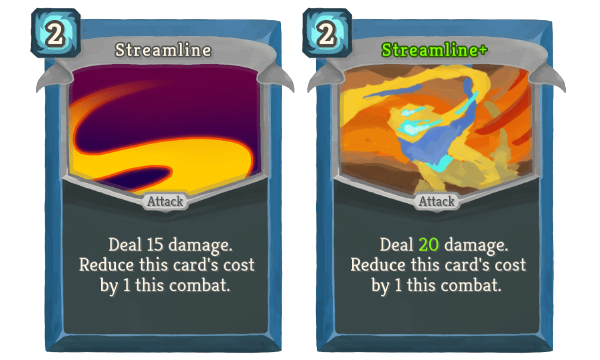
Streamline is a viable card due to its cost reduction. It becomes free after 2 uses, which isn't difficult with Defect's manipulation cards like Hologram and Rebound.
Streamline usually serves as a way to survive Act 1 elites but becomes less relevant in the late game because its damage output doesn't scale.
Rank: C
Sweeping Beam
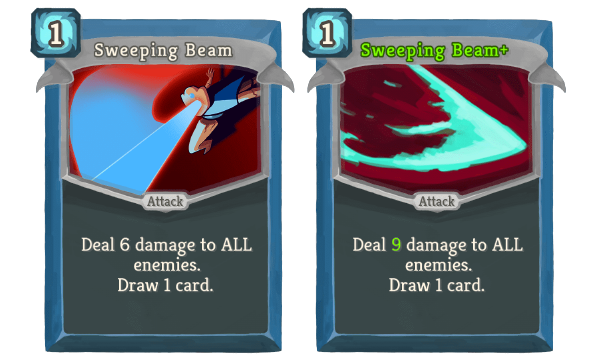
Sweeping Beam offers a straightforward way to deal area damage, but its damage output is weaker compared to other Defect options. It's primarily useful in the early game when Defect lacks better area damage alternatives like Electrodynamics or Hyper Beam. Its value can be enhanced with high strength or an abundance of energy, but it may not be the preferred choice for dealing with single enemies.
Rank: C-
Charge Battery
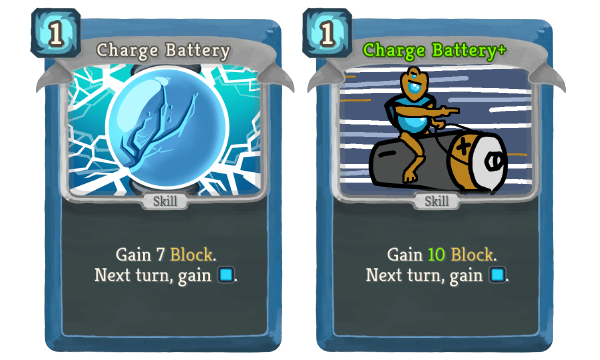
Charge Battery is often considered a step above Leap in utility for many players, thanks to its secondary effect. Providing one extra energy on the following turn, Charge Battery is favored in low-energy decks, but its usefulness may diminish if your block strategy revolves around orbs or if you have 4+ energy available.
Rank: A-
Coolheaded
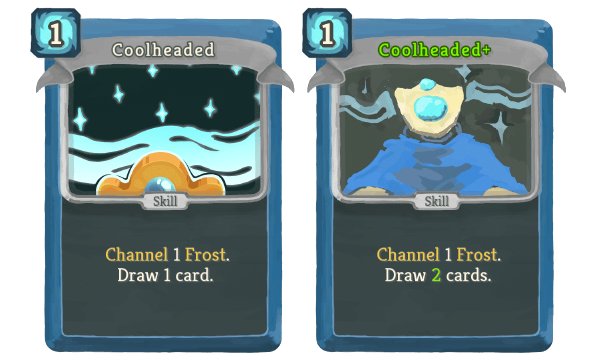
Coolheaded is a combination of Frost and card draw. While it may not provide substantial immediate output, it is valuable when building a focus or orb-scaling strategy. Coolheaded is an excellent addition to most Defect decks and worth upgrading for additional card draw.
Rank: A
Hologram

Hologram is the most powerful manipulation card for Defect and one of the best commons in the game. Retrieving a card from your discard pile offers countless strategic possibilities. Here are some examples:
- Discounted Streamline for early damage;
- Reprogram for faster stat gain;
- Claw damage enhancer;
- Infinite enabler with All for One and Snecko Eye;
- Energy gain with Aggregate or Turbo;
- Playing Core Surge and Biased Cognition in the same round.
Rank: S
Leap
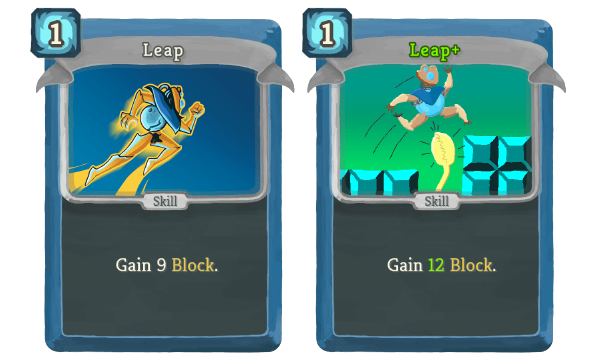
Leap is a simple yet effective block card for Defect, offering a reliable defense. While Defect typically prefers generating block through Frost orbs, Leap is valuable in situations where immediate defense is crucial or when building up Frost orbs and Focus takes time.
Leap may lack the flashiness of some other cards, but its simplicity and effectiveness make it a valuable addition to many decks.
Rank: C
Recursion
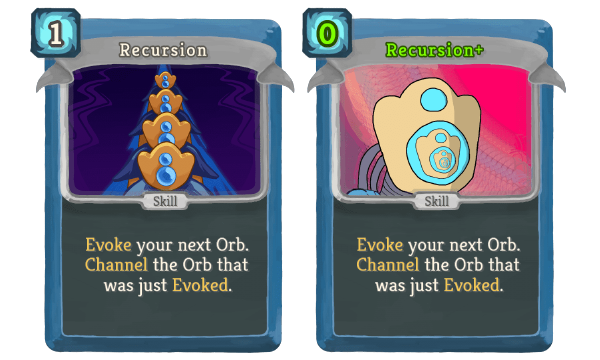
Recursion evokes an existing Orb and channels a new Orb of the same type, making it somewhat similar to Zap in the early game. It may not be the most appealing choice early on, especially when dealing with enemies like Gremlin Nob. Recursion becomes more potent when upgraded to zero energy cost. It excels when used with Dark Orbs, as they retain their stacked damage upon evocation.
Rank: C
Stack
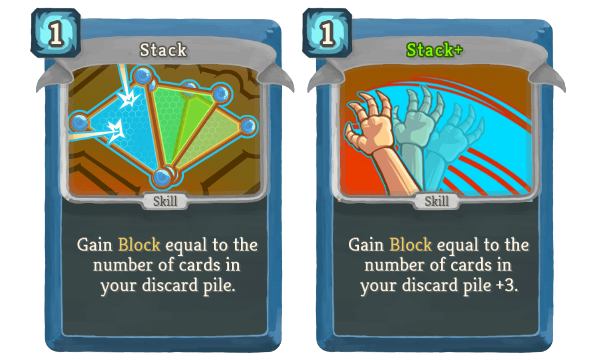
Stack has the potential to provide impressive block for just one energy. However, its effectiveness can be inconsistent, particularly in the early game or when drawn on turn one.
Due to its reliance on a large discard pile, Stack may not always be the most reliable choice. Stack's value increases with deck manipulation (Hologram) and better draw.
Rank: C+
Steam Barrier

Steam Barrier is an accessible, cheap source of block. Its diminishing block is often considered its biggest drawback. However, by the time the deck has cycled and Steam Barrier is drawn again, most of the powers and Frost scaling cards have already been played, there is usually no need to play any defensive cards.
Rank: C
TURBO

Turbo gives you energy immediately but comes with the drawback of placing a Void in the discard pile. This "energy loan" gives a quick energy boost to play key cards in your deck. Turbo pairs well with card draw from Skim or Overclock or with Runic Pyramid.
A useful interaction to mention: if you have Hologram, you can retrieve the Void card from your discard pile and exhaust it without losing energy or draw later.
Rank: B+
Uncommon Defect Cards
There 36 common cards in Defect's deck: 8 attacks, 20 skills and 8 powers.
Blizzard
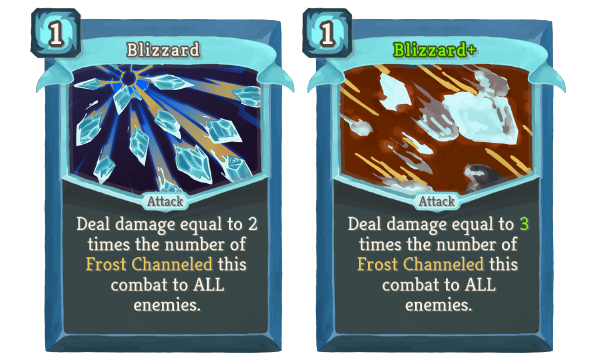
Blizzard's damage increases with each Frost Orb channeled, but this kind of scaling is relatively slow. Early in the fight, Blizzard deals no meaningful damage and usually stays as a dead draw. Blizzard can be useful in long fights against bosses like the Corrupted Heart, Time Eater, or Awakened One, if there are no better damage solutions available.
Rank: B
Bullseye
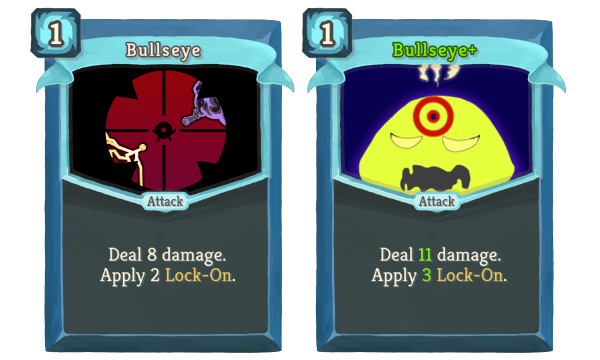
Bullseye is the only card in the game that applies the Lock-On debuff that enhances Lightning or Dark orb damage by 50%. It struggles against enemies with artifacts, like Bronze Automaton or Donu and Deca.
Rank: B-
Doom and Gloom
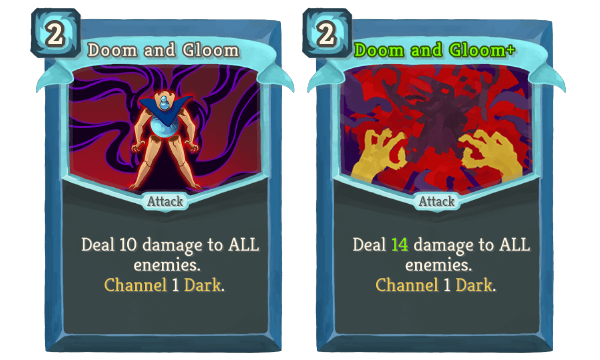
Doom and Gloom offers both area-of-effect damage and a Dark orb, making it excellent against both single targets and multiple enemies. It's particularly useful in Act I, where Defect can struggle with AoE, and it can be a lifesaver against fights like the 5 slimes, 4 Gremlins, 3 Louses. The Dark orb it generates provides delayed single-target damage, making it a boss killer. While it may seem costly at 2 energy for 10 AoE damage, its utility often justifies the cost. However, its damage doesn't scale well into Act II or III, and there are often more efficient ways to channel Dark orbs in the later stages of the game.
Rank: A+
FTL

FTL is a low-risk, low-reward card that provides a little extra damage for free, which is valuable early in Act I. Its impact diminishes as you start drawing many cards with Skims, Overclocks, or Compile Drivers.
FTL is not a card you build around, but it can be impactful if you have any of the ninja relics: Nunchaku, Shuriken, or Kunai. If you have Pocketwatch or Snecko Eye, it's better to avoid FTL.
Rank: A-
Melter

Melter deals good damage and removes all block from an enemy, which is extremely helpful against foes like the Spheric Guardian, Avocado, or the Spire Shield. However, its utility is inconsistent because not all enemies block often enough.
Rank: С+
Rip and Tear
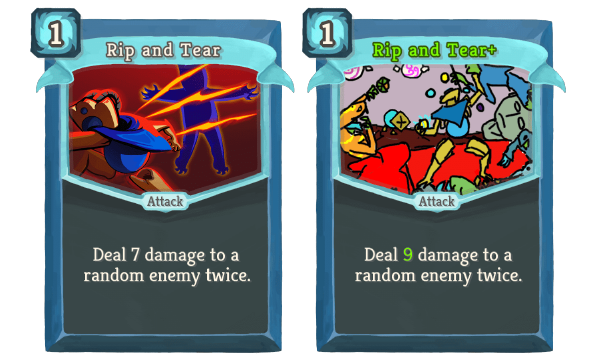
Rip and Tear deals cost-efficient 14-18 damage. However, its random targeting can be problematic against multiple enemies. And because most damage scaling comes from Focus, not Strength, Rip and Tear often becomes unremarkable after Act I.
Rank: C
Scrape
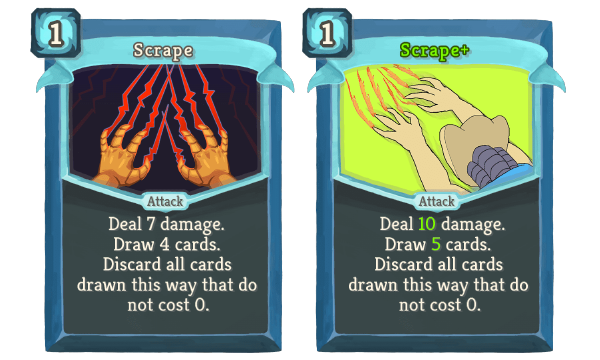
Scrape draws cards and keeps any that are free. Placing other cards into your discard pile can be problematic if you skip a win-condition card. However, this drawback can be negated by using Hologram to retrieve the discarded card.
Scrape is especially effective in decks with numerous zero-cost cards, but most reliable winning strategies do not revolve around them.
Rank: D
Sunder

Sunder deals a huge amount of damage (24 or, when upgraded, 32) and refunds the cost if it kills an enemy. It's a great answer to small targets like Gremlins, Slimes, Louses, or just a good finisher for any reasonably chunky target. One of the cool things about Sunder is that if you can discount it in any way, a kill still refunds three energy. So it can become an energy generator if discounted via all sorts of things: Madness, Enlightenment, Snecko Eye, Mummified Hand, you name it. However, Sunder's effectiveness tends to decrease by Act 3, where it encounters no small enemies other than Reptomancer's daggers.
Rank: B+
Aggregate

Aggregate is a top-tier energy-generating card. Unlike other energy cards, it is both reusable and has zero downsides. With a sufficient number of cards in the draw pile, Aggregate allows you to play a large number of cards in one turn. Its effectiveness, however, is heavily dependent on the size of your deck and your ability to manipulate it.
Rank: S
Auto-Shields

Auto-Shields is a cost-effective defensive card. However, the card comes with many anti-synergies. Some examples:
- Loop and Frost orbs: Triggering a Frost orb adds block from the round start;
- Multiple copies of Auto-Shields: Having two copies in hand makes one of them a dead draw;
- Calipers: Block retained from previous rounds;
- Echo Form: No benefits from double play;
- Simply forgetting to play Auto-Shields first.
Rank: D+
Boot Sequence

Boot Sequence is designed to mitigate damage on the first turn of combat. It provides 10-13 block for free, allowing you to spend your energy playing scaling cards: setting up powers and orbs. However, because it costs 1 draw and most enemies don’t hit on a first turn, it may be a hindrance in some fights. So it’s best to include no more than one copy in a deck.
Rank: B
Chaos

Upgraded Chaos is an energy-efficient way to fill out your orb slots. It can be a good way to get cheap Plasma or Dark orb. Without upgrade, it's quite underwhelming.
Rank: C-
Chill
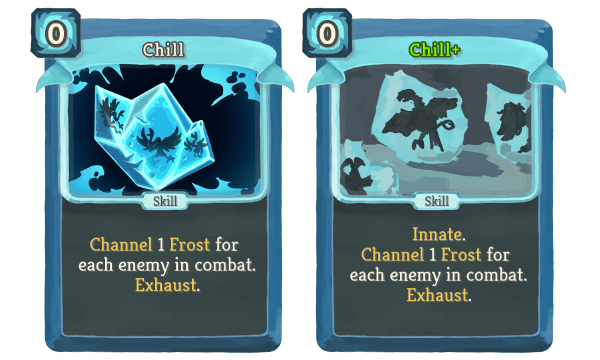
Chill is potentially multiple Frost orbs for free. Getting free defense from the start with upgraded version of the card allows you to spend more energy for faster scaling.
Rank: A+
Consume
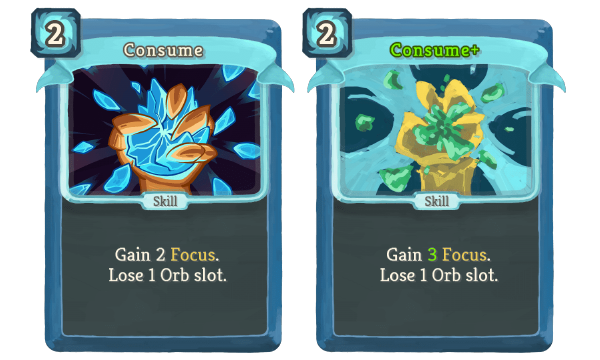
Consume provides a significant amount of Focus by consuming one of your orb slots. Less orbs can be advantageous when you want to evoke orbs faster. But if your strategy is around getting passive bonuses from them, Capacitors or Inserter are welcomed with Consume.
Rank: A
Darkness
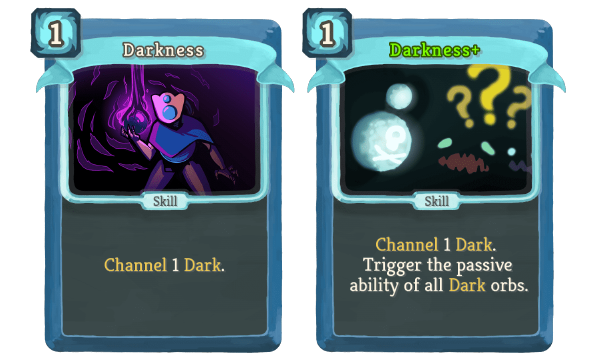
Darkness is one of the few cards that channel Dark orbs. Dark orbs are absolute boss killers, as they charge up damage over time and allow you to unleash it all at once with a dual cast or a multi cast, instantly defeating the strongest bosses. This strategy also helps you skip more dangerous last phases from bosses like Slime Boss, The Champ, or Time Eater. In comparison to Doom and Gloom, Darkness is stronger against bosses, but less useful in hallway fights.
Rank: A
Double Energy

Double Energy can be a game-breaking card if you already have a lot of energy or Ice Cream relic. It can lead to explosive turns when combined with X-cost cards like Tempest or Multicast.
Double Energy is often seen as a late-game pick. Without an upgrade, it only provides one extra energy in a 3-energy deck, which can be underwhelming. You might often find more consistent energy generation with cards like Aggregate or Turbo.
Rank: C-
Equilibrium

Equilibrium provides substantial block and retains your entire hand for a turn. This can be useful for setting up combos or holding onto energy-generating cards for future turns.
Rank: A
Force Field

Forcefield gets cheaper with every power you've played, bringing its cost down to zero. This makes it synergize with the Defect's zero-cost strategies, such as Scrape and All for One.
There's a lot of competition among frontloaded block cards in the Defect's arsenal, which makes Forcefield a situational pick. It's most effective in decks that lack Frost orb scaling as a block solution but have multiple powers.
Rank: B
Fusion

Fusion channels a Plasma orb, which is a source of extra energy. Fusion can enable infinite combos with the right setup. However, it takes two turns for Fusion to pay for itself, or one turn if upgraded.
While it has potential in certain situations, such as in decks with Fission+ or X-cost cards, or with Snecko Eye, it's often hard to justify taking early.
Rank: D+
Genetic Algorithm
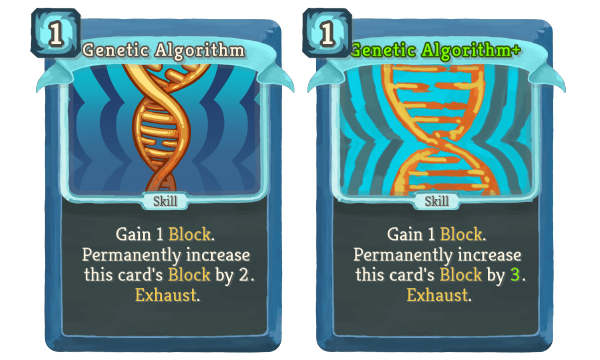
Genetic Algorithm is a unique block card that starts out weak but quickly strengthens with each play. It needs to be acquired early enough to start stacking.
A well-stacked Genetic Algorithm can help in many fights as a block solution before Focus/Frost orbs can get running. It’s particularly useful against enemies who deal heavy damage early on, such as Reptomancer or Spear/Shield. It synergizes well with Calipers relic and can be likened to an Apparition+ near the end of the run.
Rank: S
Glacier

Glacier is one of the Defect's best skills, providing instant, passive, and scaling block. It's a reliable way to kickstart your frost engine and saturate your orb slots. It's almost always beneficial to have one or two of these in your deck. Glacier is strong enough without upgrade, so it doesn't compete at campfire with other cards.
Rank: A+
Overclock
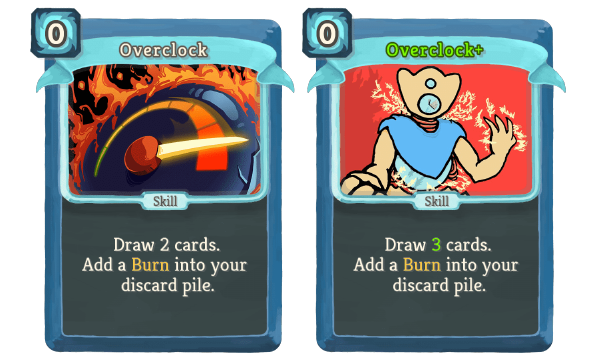
Overclock is a card that provides 2-3 draws for zero cost, but it puts a burn into the discard pile. This means Overclock ends up being a net negative for your card draw over the long term. However, it's very useful in decks that want to make the first pass through the deck as quickly as possible to set up a bunch of powers and deploy your strategy faster. Still, it's not always the best option for draw, as Defect has many other draw cards like Skim, Seek, Compile Driver, Fission, or Coolheaded.
Rank: D+
Recycle
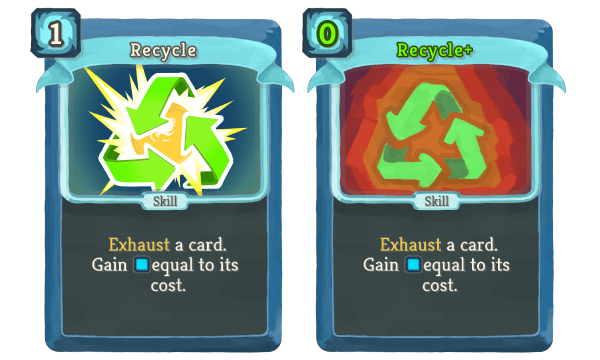
Recycle provides energy by exhausting another card in your hand. While it doesn't create block or deal damage on its own, it can help you deploy your strategy faster, especially if you have a lot of card draw. The upgrade, which reduces its cost to zero, is considered high value and makes it an excellent target for Hologram.
Recycle is the only way that Defect has to exhaust other cards and can be a very important component of assembling an infinite combo. With Dead Branch, it becomes one of the best cards you could have on Defect and can make for some bonkers turns with All for One and/or Hologram.
Rank: A-
Reinforced Body

Reinforced Body is one of the best block cards for the Defect. It allows you to block for a lot or a little, depending on your needs, and it scales with any source of Dexterity. This makes it a very flexible card, useful in both the early and late game. It's particularly effective in decks that can generate energy via various sources, allowing the Defect to capitalize on Recycle, Plasma, and Turbo energy.
Rank: A+
Reprogram

Reprogram exchanges Focus for Strength and Dexterity. While it can be a way to scale your Defect run into the late game, it requires a lot of support from other cards to be effective. It's particularly useful in decks with multiple Holograms and Rebounds, allowing you to play it multiple times, and with block cards that scale with it. However, Reprogram is kind of a detriment at first. If you still have your starting relic, then Reprogram is losing you damage from your Lightning orb. Reprogram could be useful in decks that don't rely on orbs like Claw decks. The problem is that those usually have to be very lean.
Rank: C
Skim

Skim is unconditional card draw, which can be incredible for the Defect, a character that often has a lot of energy generation. Skim is useful in decks that have a single card you want to play ASAP like Echo Form, Apotheosis, or Creative AI, or when your deck is reliant on drawing multiple specific cards together. It's often a card that players want one of in their Defect decks, but usually not until after Act 1.
Rank: A
Tempest

Tempest is an X-card that channels one Lightning orb per energy. It can be an absolute powerhouse if you have a surplus of energy and focus. However, its uses are pretty niche, and it's rare that lacking Tempest is holding your deck back.
Rank: C
White Noise
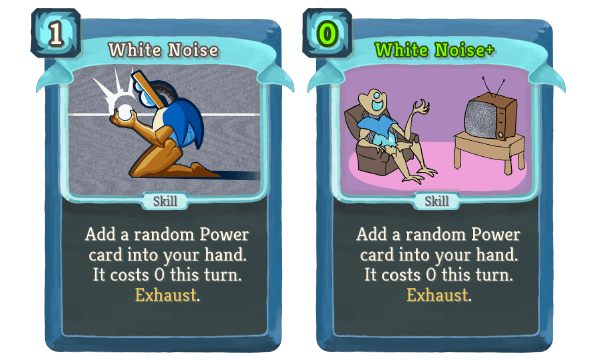
White Noise generates a random power card, which can be exactly what you need or vice versa. The Defect has a pretty solid pool of Powers, so you're likely to get something useful from White Noise. Especially when upgraded, in the worst-case scenarios, you haven't actually spent any energy trying; you just ended up with a dead card in your deck. It's also worth noting that White Noise is much better than the Ironclad and Silent counterparts since you don't risk having a subpar card cycle back through your deck in tough fights.
Rank: B-
Capacitor
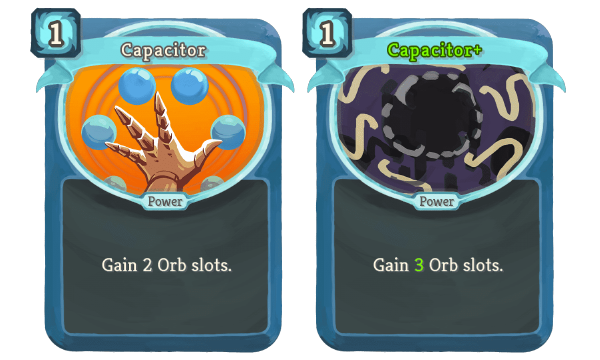
Capacitor significantly increases the number of orb slots. It can be a great addition to Defect decks capable of fast orb generation. At the start of the run, though, there is not much use for the extra slots as they remain empty.
Rank: A-
Defragment

Defragment is Focus without any condition or downside. Upgrading this card for double value is a high priority, as it's pretty much a power that helps with most things the Defect does. Just one upgraded copy doubles Frost block, and nearly doubles passive Lightning damage.
For most players, Defragment is an instant pick, regardless of how many copies are already in the deck.
Rank: S
Heatsinks

Heatsinks draws a card every time you play a power card. It can be incredibly strong with Mummified Hand in decks with many powers. Combined with Creative AI and energy surplus, Heatsinks can lead to power spamming and fun gameplay. Outside of those synergies, it's rarely picked in most builds as it usually only boosts the first cycle of your deck when powers are played.
Rank: B
Hello World

Hello World adds a common card to your hand at the start of every turn. It's a great card in Act 1 as it gives you better cards than Strike/Defend. It can generate Holograms to get cards out of the discard pile, generate Frost orbs for you via Coolheaded or Cold Snap, and weaken enemies with Go for the Eyes.
Hello World is a good early pick for your Defect as a way to get past the elites or Boss of Act 1. However, it could end up becoming a dead burden later in your run if you rely on a specific strategy and don't want to clog your hand.
Rank: C+
Loop
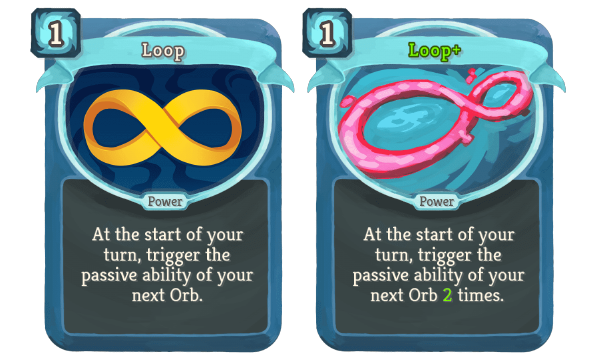
Loop is a power card that activates your right orb one additional time. It's a middle to late-game specialist and can be a core part of your late-game strategy.
Loop's effect triggers at the start of the turn, as opposed to the end of the turn when orbs naturally trigger. This means it helps against the Beat of Death, which is sometimes a challenge in decks relying on orbs.
Rank: A+
Self Repair

Self Repair provides healing at the end of combat, which is a nice way to sustain your health throughout a run. However, often times, it could be easier to prevent damage in the first place than to recover it with this card. It's more useful if picked up early in Act 1 or Act 2, when you have no guaranteed ways to prevent damage completely. It works well with Echo Form and is especially beneficial in decks that can stall.
Rank: A
Static Discharge

Static Discharge channels Lightning orbs whenever you're damaged. It's a one-card solution for a number of fights, such as Hexaghost, Byrds and Book of Stabbing, and works very well against the multi-attacks of the Heart. With a couple of points of focus and an upgrade, it greatly boosts your damage output, and with the right block/Frost orb setup, you can get it triggering on little 1 and 2 pings of health.
Static Discharge is also one of the few major Thunder Strike enablers, which is normally hard to get going. It's one of the few Defect powers that players rarely hesitate to take on in the first act.
Rank: A+
Storm
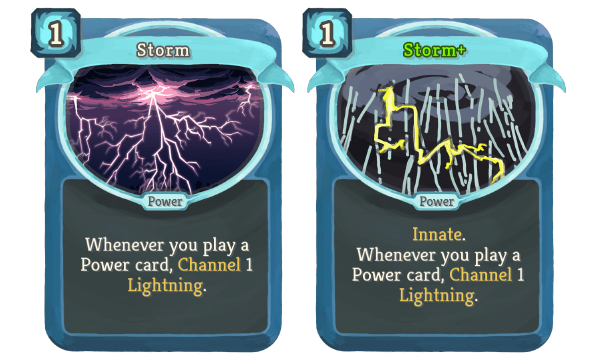
Storm adds one Lightning orb for every power card you play. It can be a really cool card to build a whole deck around. It works particularly well with renewable sources of powers, such as Creative AI or Nilry's Codex. The big weakness of Storm is the Awakened One, the boss that punishes power usage. Because you need a lot of powers to benefit from Storm, Awakened One can be a real showstopper.
Rank: B+
Rare Defect Cards
There 17 rare cards in Defect's deck: 5 attacks, 6 skills and 6 powers.
All for One
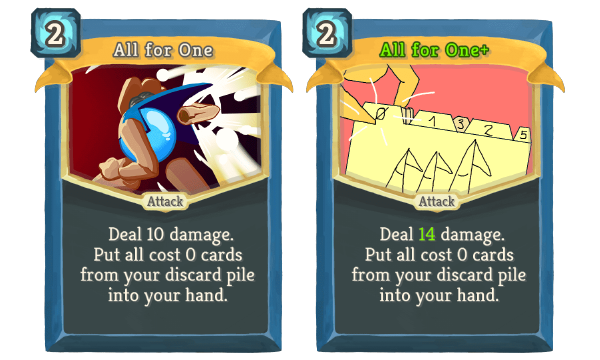
All for One shines in decks with multiple zero-cost cards, such as Claw, Beam Cell, Go for the Eyes, upgraded Zap, Dualcast, Recycle, or Recursion. Very powerful with Snecko Eye, can occasionally go infinite with a second copy of itself or a Hologram+. You can be very creative with All for One, especially if you get colorless cards involved.
Rank: B+
Core Surge
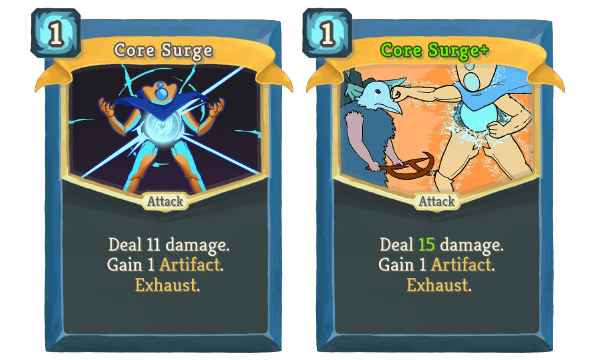
Core Surge deals a respectable 11-15 hit for 1 energy, which is great early in the game. However, Core Surge's true strength lies in the Artifact it provides. It's incredibly useful for preventing various debuffs, most notably, the focus decrease from Biased Cognition, making the temporary boost permanent. It also works on Hyper Beam and Reprogram.
Core Surge can change the flow of some fights completely, avoiding the entangling effects of the Spire Growth or the Hex of the Chosen. Artifacts also make the +5 Strength or Dexterity increase from potions stay for the entire fight.
Overall, Core Surge is flexible, and the Artifact it provides finds a good use in most fights.
Rank: S-
Hyperbeam
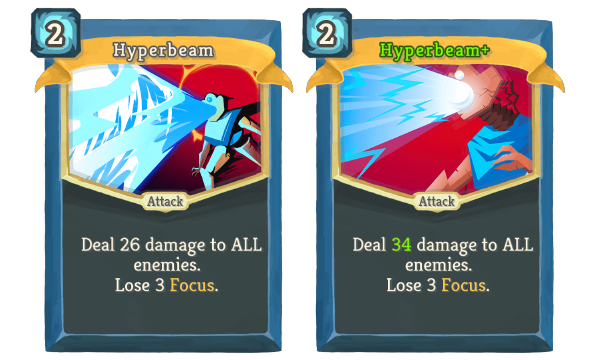
Hyper Beam is a powerful front-loaded attack, particularly remarkable in the early or middle game. It's the ultimate end to dangerous multiple-enemy encounters. Kill all the Slavers, Slimes, Gremlins, Spikers. All in one devastating blow.
However, Hyper Beam comes with a significant drawback - it costs a substantial amount of Focus, a crucial resource for Defect's orb-based strategies. It's best to be used as a finisher, played on the last turn to carve off the last of an enemy's HP. It's also not so valuable against single enemies.
Consider Hyper Beam as a card you'll only play in maybe a third of fights, but in those fights that you play it in, it's incredibly good.
Rank: A-
Meteor Strike
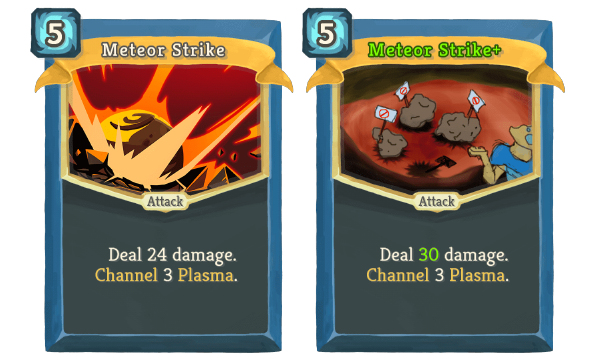
Meteor Strike deals a massive amount of damage and generates three Plasma orbs. Because of its high energy cost, it requires you to generate extra energy, either through relics or cards like Aggregate, Turbo, Double Energy, or Fusion. Snecko Eye makes this card exceptionally great, reducing the cost to 0-3 and enabling infinite combos with ease.
Rank: B+
Thunder Strike
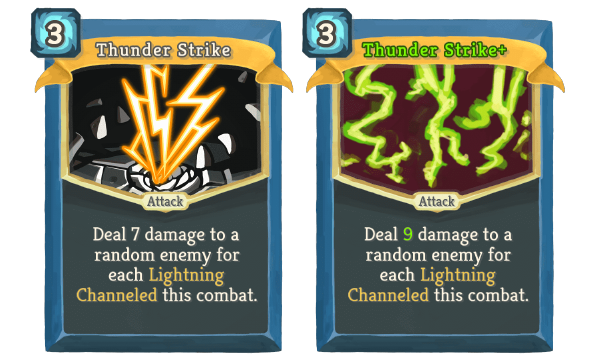
Thunder Strike unleashes doom on your enemies if you've channeled a significant number of Lightning Orbs. With the right setup, it can be a game-changing finisher. It synergizes well with powers to channel more Lightning (Static Discharge or Storm), any source of Strength, Strike Dummy, and many other relics and cards.
Because of its high energy cost and setup requirements, Thunder Strike is extremely awkward at the best of times. If Thunder Strike is doing reasonable amounts of damage, it means that you've channeled so many Lightning Orbs that your target is already dead.
Rank: D
Amplify

Amplify can be a bit tricky to wield effectively. It allows you to duplicate one power, or two if upgraded, but it comes with some notable challenges.
First and foremost, you need to draw Amplify in the same hand as your powers. So, any source of card draw would be welcome with Amplify. Retrieving a card with Hologram works even better.
Additionally, Amplify itself does not exhaust, but your powers do. This means that as you play your powers throughout the battle, you may eventually run out of powers to duplicate, leaving you with a useless card.
Rank: C
Fission

Fission is a draw and energy in one card. The upgraded version is significantly stronger, as it evokes orbs instead of simply consuming them.
With Fission, orb generation becomes more valuable, and cards like Rainbow, Darkness, and Chaos to channel orbs faster are welcome in a deck. Additional slots from Capacitors or Runic Capacitor make Fission even better.
Rank: A-
Multi-Cast
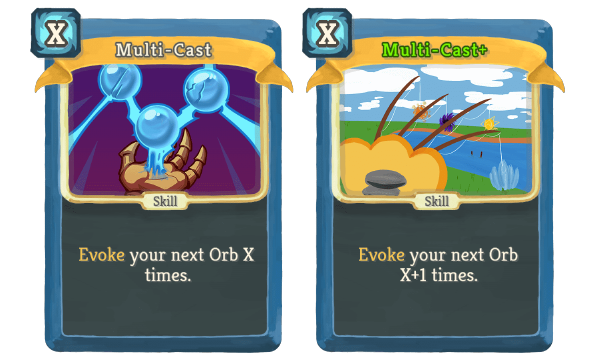
Multi-Cast is a flexible card that can generate huge amounts of block, damage, or energy depending on how you manipulate your orbs. Particularly great with Dark or Plasma orbs. Likes Runic Pyramid so that you can use it at the right time. Synergizes well with any relic or card that gives energy, the most prominent example being Ice Cream and Double Energy.
Rank: C+
Rainbow
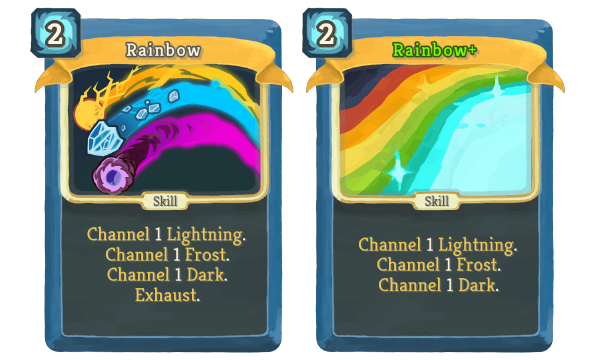
Rainbow generates multiple orbs in a single card play, covering both offense and defense this way. It can be appealing if you lack reliable orb generation: Rainbow quickly floods your orb slots.
An upgrade on Rainbow may not always be beneficial. If you're planning to build up your Dark orb damage, exhaust effect can simply get the card out of the way.
Rank: B+
Reboot

Reboot is a valuable card for recycling and reshuffling your deck, providing another opportunity to draw valuable cards. It synergizes well with relics like The Abacus and Sundial, which offer block and energy when your deck is shuffled.
However, Reboot does have its drawbacks. Typically, you want to cycle through your hand to set up all the Powers, and having all the cards discarded by Reboot forces you to restart this cycle. While Reboot can help you draw something from your discard pile, the Defect already has the Hologram for this purpose.
Reboot tends to work better in decks that require less setup.
Rank: B
Seek
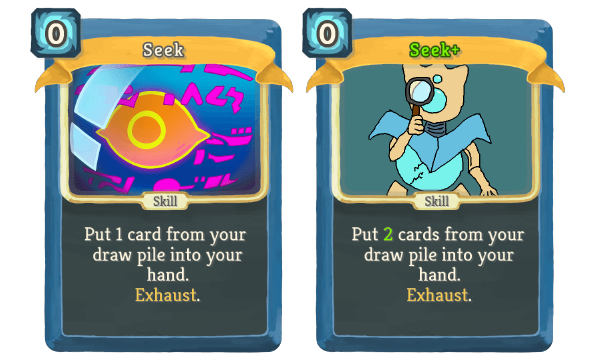
Seek lets you to pull any card from your draw pile directly into your hand. This can be particularly useful for setting up combos, retrieving blocks when needed, or setting up powers for faster scaling.
When upgraded, Seek allows you to choose two cards from your draw pile, making the card even more flexible. An upgraded Seek, without exceptions, is the best card to bottle.
Rank: S+
Biased Cognition

Bias Cognition quickly scales Defect's damage or defense by substantially boosting his Focus.
It's advisable to pair Bias Cognition with artifact charges to negate its Focus-reducing penalty or remove the debuff with Orange Pellets. But even without these solutions, many fights tend to conclude before the card's downside becomes a significant issue, making it a formidable choice for hallway fights. In boss fights, the best time to use Bias Cognition is when all other power and orb preparations are set.
Rank: S+
Buffer
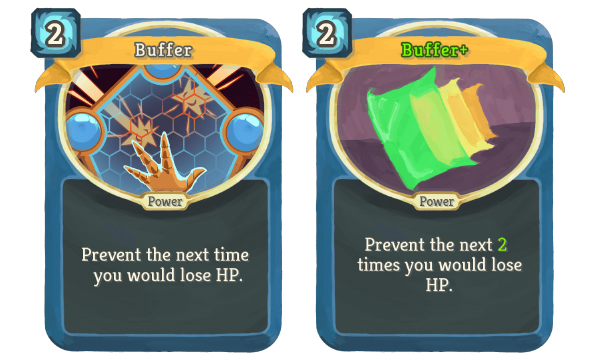
Buffer can be a lifesaver against enemies with hard-hitting attacks. Absorbing all incoming damage buys you precious time to scale or deal with threats. The upgrade significantly enhances Buffer's utility and makes it twice as strong.
However, Buffer does require some support. You need to have some control over when to lose a buff, ensuring it happens during the enemy's most damaging turns. Buffer has a significant weakness against multi-attacks. They can quickly deplete the Buffer charges, leaving you vulnerable to subsequent attacks.
Preserving a buff is a challenge against the Heart: because of Beat of Death, you need some block to play it, and more block to preserve it. And all these preparations may be useless if it decides to hit you with x15 attack.
Rank: A-
Creative AI
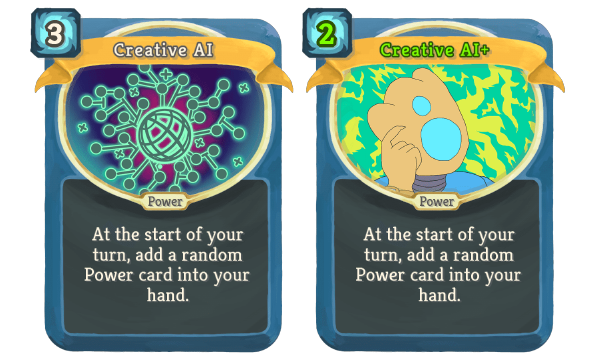
Creative AI can be a one-card solution for your boss fights, although it's an extremely expensive card. It’s an ongoing energy investment, requiring two-three energy to play and additional energy for each subsequent power generated. However, it offers unlimited scaling, providing you with a plethora of powers like Capacitors, Loops, Defragments, Static discharges, Storms, and Echo forms. You cannot get self-repair from Creative AI, though, so don't expect it.
Creative AI pairs incredibly well with these two relics: Mummified Hand gives free energy, and Bird-Faced Urn heals you every power you play.
Rank: B-
Echo Form

Echo Form is a remarkable power that duplicates the first card you play each turn.
The utility of Echo Form is immense. By multiplying Focus cards, it scales up your Lightning/Dark damage or Frost defense twice as fast. Considering that powers exhaust after use, they are a higher priority for Echo Form buff utilization. Evolving cards (Cultist Dagger, Genetic Algorithm) are another good candidates for duplication.
However, Echo Form is a three-cost card and doesn't give you any benefit the turn you play it. It's more suited for later game, when scaling is more important and you have more energy to spare.
Rank: S+
Electrodynamics
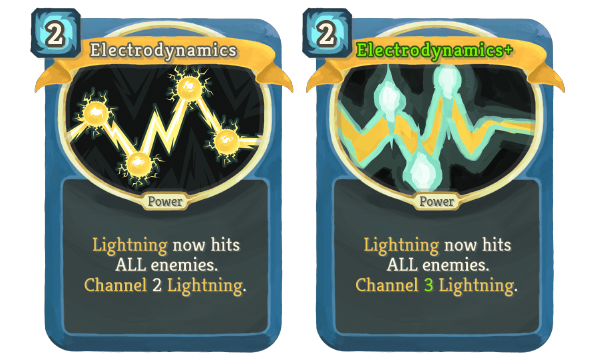
Electrodynamics is the go-to AoE card for Defect, a class otherwise lacking in AoE options. It turns previously challenging multi-enemy hallway fights into a breeze. It's a card worth picking in the early and middle game, with its main drawback being its diminishing returns in late-game boss fights. Nevertheless, seeing it in your rewards is always a welcome sight, and its impact on Act 2 cannot be overstated.
Rank: S
Machine Learning

Machine Learning provides consistent card draw. However, it's quite slow: it takes two turns to become card draw positive. In long battles, Machine Learning can shine, allowing you to have cards with synergy appear in your hand at the right time. However, in quick hallway fights, you might have to play more faster and essential cards over Machine Learning.
Rank: B+


