Ironclad Card Tier List in Slay the Spire
Full tier list of all Ironclad cards in Slay the Spire, a quick breakdown and a ranking on every attack, skill and power card.
Updated by Baalor in Slay the Spire
Intro
Ironclad Card Tier List is based on different opinions, combined. The main source of information comes from Slay the Spire tier list ranks made by Baalorlord, Frost Prime, Panacea108. Visit their channels for more information on different aspects of the game, or if you want to see them playing Slay the Spire live:
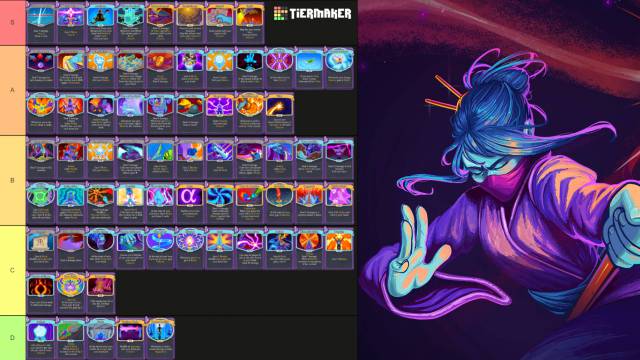
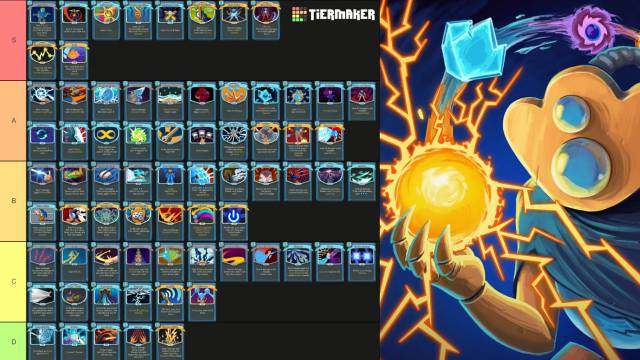
The cards are ranked from D (lowest) to S (highest) rank. Higher tier cards are not always better than lower tier cards in every situation. But generally they are easier to set up and benefit from.
Silent Tier List:
https://single-player.org/post/86-silent-card-tier-list-in-slay-the-spire
Defect Tier List:
https://single-player.org/post/88-defect-card-tier-list-in-slay-the-spire
Watcher Tier List:
https://single-player.org/post/89-watcher-card-tier-list-in-slay-the-spire
Common Ironclad Cards
There are 20 red cards in Ironclad Common cards pool: 14 attacks and 6 skills.
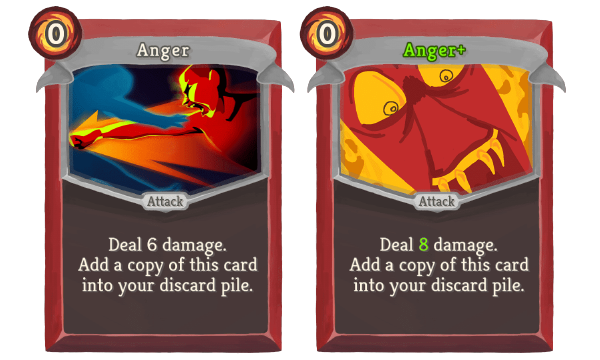
Anger, basically, is a free Strike.
Very good in regular Act 1 fights as a decent boost to your damage. Against Slime Boss and Hexaghost, flooding your deck with cards that deal damage instead of useless statuses is a game changer. Just don't use Anger in Guardian fight, as you need more defense against spikes.
Anger becomes less impactful later in the game, but can remain relevant if you get a sufficient card draw.
Rank: A
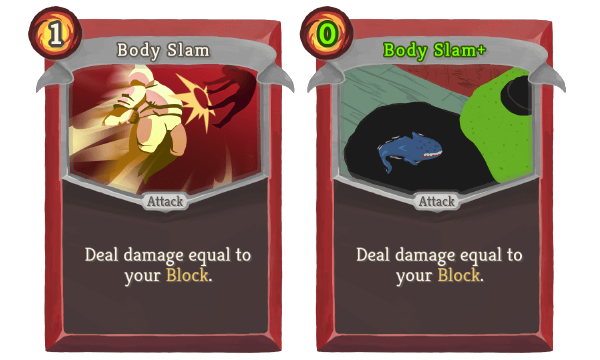
Body Slam is one of the best attack cards Ironclad has. Body Slam upgrades to zero cost, which is invaluable considering you need to spend energy to gain more block. Having this card in hand, alongside the strongest Ironclad's defensive skills, becomes a formidable force. Retaining block with Barricade can result in a monstrous 999 damage attack.
Outside of defensive builds, the card is still valuable with strength scaling, dealing damage for zero cost.
Body Slam is a fun way to tackle the late game.
Rank: A
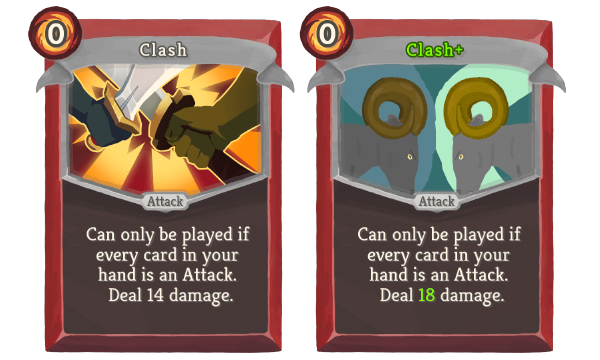
Clash rank depends on what ascension you're playing.
If you're on ascension 10 or above and have the Ascender's Bane Curse, Clash is in the lowest tier for sure. It clogs your hand, unless some setups were made to exhaust skills and curses. It's almost never taken by any professional Slay the Spire players (they do only A20).
But the card stats are impressive: 14 damage for 0 energy let the card rank higher on lower ascension.
Rank: D or B
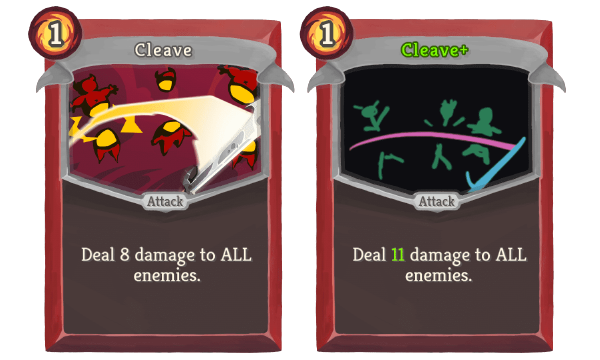
Cleave, being one of the weakest AOE attacks for Ironclad, it's still a reasonable card to pick. It doesn't do much in most encounters, but in fights against 3-5 enemies (Gremlins, Slavers, Reptomancer), it's invaluable. So it's good to have one in a deck, unless you have better AOE solutions.
Rank: B
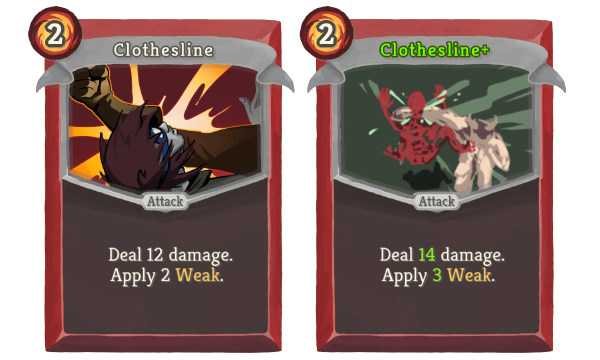
Clothesline could be picked if a deck has no other weakness sources. It's decent with Sneako Eye for 1 or 0 energy.
Rank: C
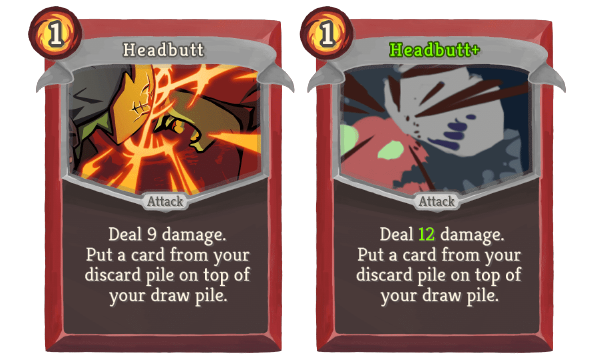
Headbutt is one of Ironclad's best deck manipulation tool, allowing you to get back any important card from the discard pile. It lets you loop Limit Breaks or get back any high damage card to finish a fight faster.
Rank: A
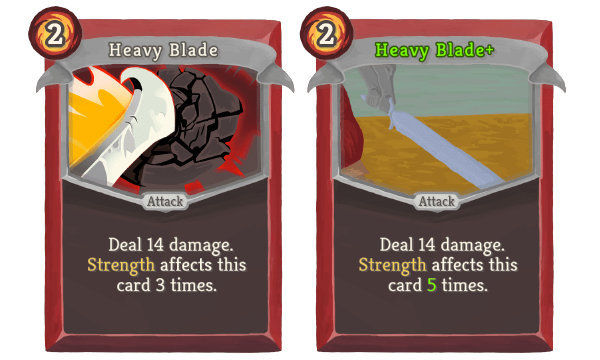
Heavy Blade is acceptable strength card. It deals massive damage if you've got good strength, but doesn't do very much without it, often leaving you vulnerable while you try to accumulate it. Even then, in most situations, you can get more efficiency from a Sword Boomerang or from a Pommel, so Heavy Blade is usable, but outclassed in most situations.
Rank: C
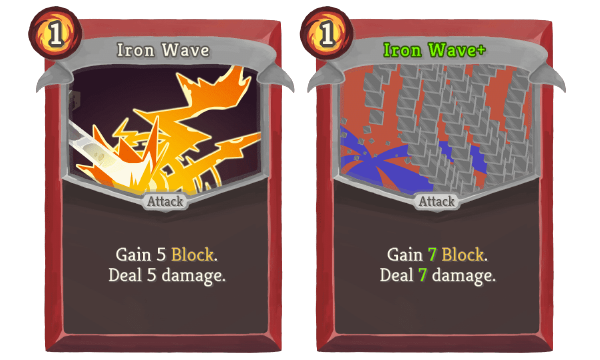
Iron Wave seems on paper like an efficient card, but the problem with Iron Wave (and with most Ironclad attacks in general) is that Ironclad cannot keep these attack cards relevant in the late game when you need to deal hundreds of damage and gain large amounts of block.
If you cannot get these cards to be more efficient in the end game than they are in the early game, then they will not serve you, and that is unfortunately where Iron Wave tends to fall.
With an upgrade it can be quite acceptable, and if you're able to generate large amounts of strength and dexterity, then it can be quite useful as well.
Rank: C
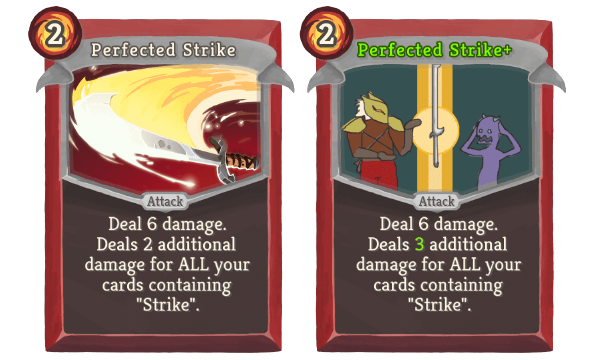
Perfected Strike starts at 18 damage if you put it in your starting deck, and can scale with more copies of itself or other strike cards to become fairly enormous damage output.
Flooding your deck with all sort of strikes to buff Perfected Strike will make it good enough for elites, but won't win the final fight against the strongest boss, the Heart.
So Perfected Strike tends to wane in the late game, especially as you try to remove Strikes.
It is however quite usable, and "Perfected Strike" deck is in fact a thing. Give it a try at some point, just not every day.
Rank: C
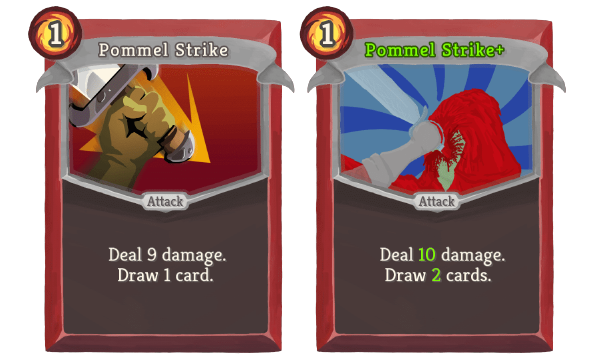
Pommel Strike is another strike card that offers solid damage for one energy as well as augmenting your card draw, notably with a good upgrade for another draw. It works better with 4 and more energy to play the cards drawn more often.
Rank: A
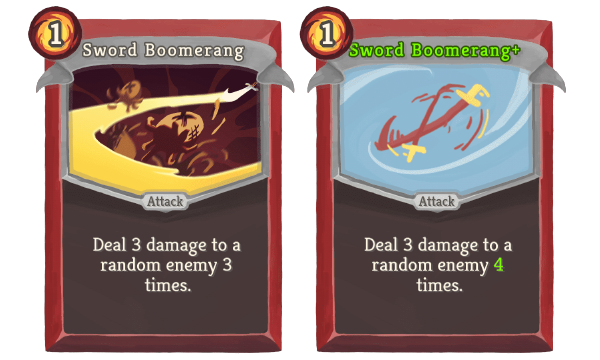
Sword Boomerang is one of the best cards to benefit you from high strength. It's cheaper that Heavy Blade being 1 energy cost, it doesn't exhaust like Pummel, so you can use it even at the start of the fight. With just one source of strength, Inflames deals 18-24 damage.
Rank: A
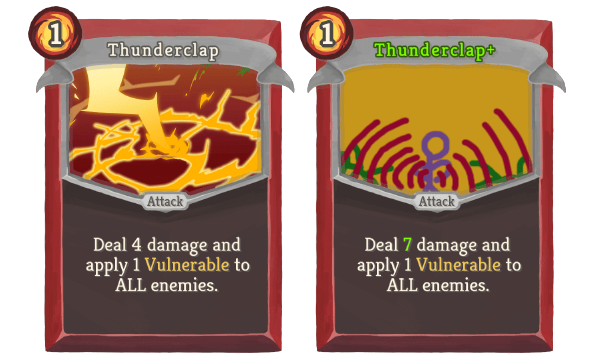
Thunderclap can be a nice little way to extend the vulnerability from your Bash, as well as to do a little bit of AOE, but ultimately it is outclassed a little bit. There are better ways to do area of effect damage, and there are better ways to apply vulnerable for Ironclad.
There are many cases when picking Thunderclap makes a lot of sense. Having Thunderclap in your hand alongside with high-damage two cost card, makes one cost Vulnerable source very useful in Act 1. Another application of the card is getting rid of enemy artifacts before using a better debuffing skill like Shockwave or Uppercut.
Rank: C
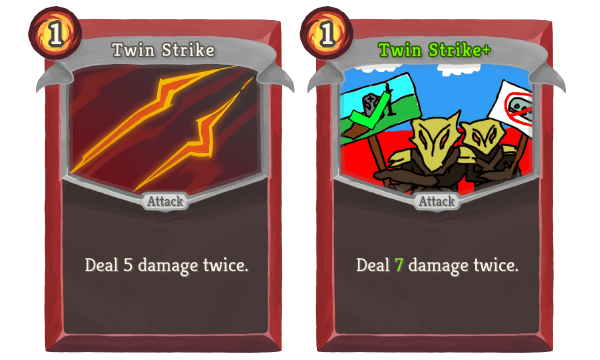
Twin Strike is just an easy card. It does pretty good damage on its own, scales reasonably with strength, and has a lot of other really helpful interactions.
It ends up being one of the better strike cards on Ironclad.
Rank: B
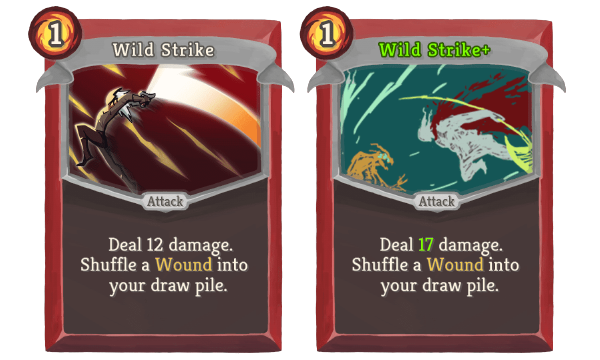
Wild Strike is relatively high damage for 1 energy. That makes it very useful early in the game. The problem with Wild Strike is that the wound slows you down by one draw far too often because it goes into your draw pile. Even if you have Evolve in your deck, you're likely to draw Wild Strike before you can play Evolve.
Rank: C
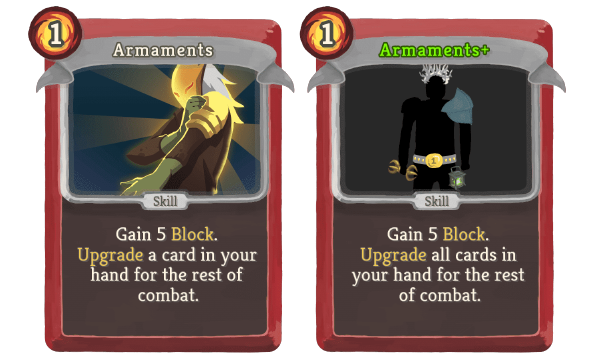
Armaments is a defensive skill, but it also upgrades stuff. Notably, upgraded Armaments upgrades everything else in your hand, which is pretty cool.
The card is excellent with Runic Pyramid, Sneako Eye relics and Battle Trance, Offering, Burning Pact cards. Anything that lets you get lots of cards in your hand will make Armaments shine more.
There is not much point in taking more than one copy of Armaments card. Even a single copy becomes less valuable the longer a fight goes on.
Rank: B
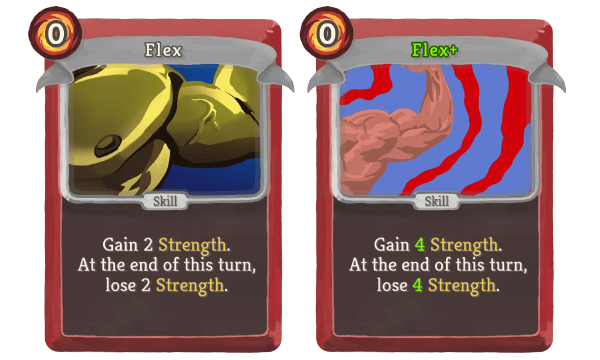
Flex is ultimately a card that has to be drawn alongside other cards in order to be effective, and that does impede its reliability.
Something in this card makes it more appealing for new players and let them fall into "Noob trap" and lose runs because of insufficient card options in the opened hand.
Flex becomes much better when combined with sources of artifact or debuff negation to keep the strength for the entire fight.
Rank: D
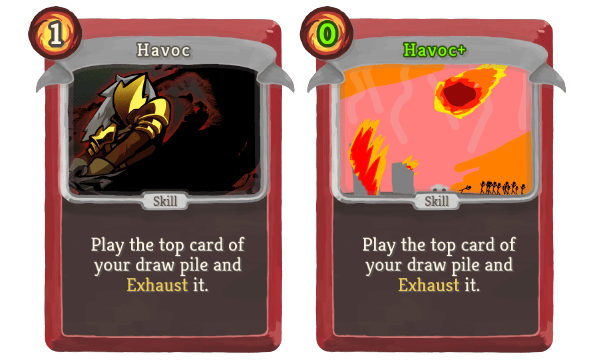
Havoc is one of the trickiest Ironclad card to play. It requires some setup to work efficiently, presumably combo with Headbutt or Warcry to put expensive cards on top of your deck and benefit from 0-1 energy cost.
Without any setup, Havoc may place you in a huge disadvantage and even kill you (for example, when attacking spikes). Most cards in Ironclad pool want to be played only in specific situations, Fiend Fire or Second Wind are good examples.
Final note: Frozen Eye, the relic allowing to see the top card of your draw, makes Havoc incredible.
Rank: D
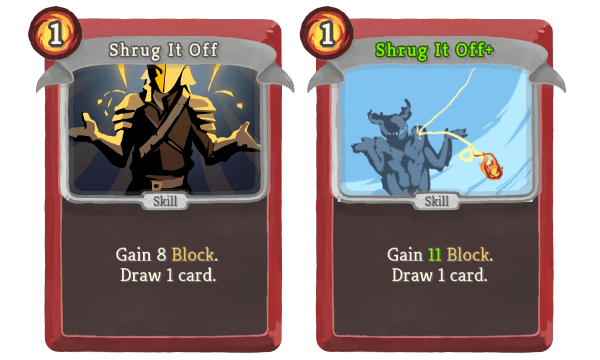
Shrug it Off got to be another stellar common on Clad. It's block and draw at the same time. Shrug it Off gets better as you go further and further in the game.
Rank: A
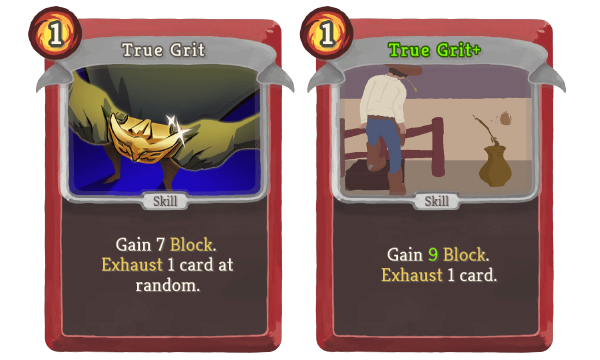
True Grit is another one that is good in both the middle game and the late game, giving you some block and exhausting a card. Most importantly, the upgraded version of True Grit lets you choose the card to exhaust.
True Grit can be an important part of your late game defense and can be an effective port of creating an exhaust synergy with Ironclad character.
Rank: B
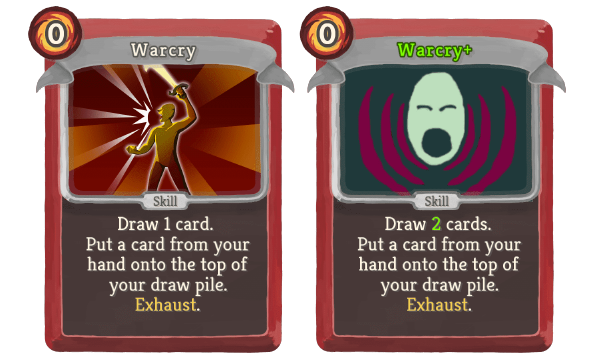
Warcry is a pretty low ranking. It gives you a little bit of ability to set up your next turn, just putting one card from your hand on top. The best combo for this card is Havoc, making card usage cheaper.
For the most part, Warcry is just too low impact for one card.
Rank: C
Uncommon Ironclad Cards
There are 36 red cards in Ironclad Uncommon cards pool: 11 attacks, 17 skills and 8 powers.
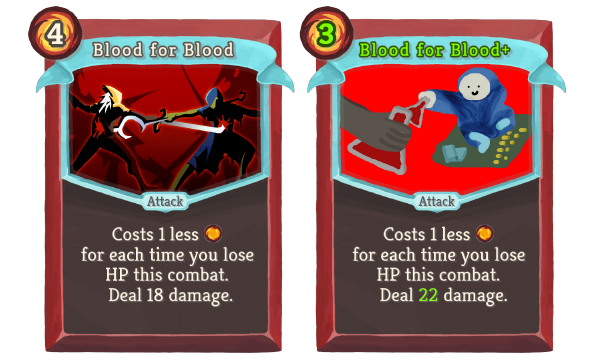
Blood for Blood, another reliable high damage card, costs one less each time you take damage.
It turns out damage is pretty easy to take - not only do enemies constantly try to do it to you, but Ironclad has a lot of cards that will do damage to himself.
With an upgrade to reduce the cost by one to start, Blood for Blood becomes an incredibly hard hitting free card. It can carry you through Act 1 as there are no easy ways to prevent incoming damage completely, and will remain useful throughout the entire run.
Blood for Blood is often doing what Clash wants to do, but more reliably and more successfully.
Rank: A
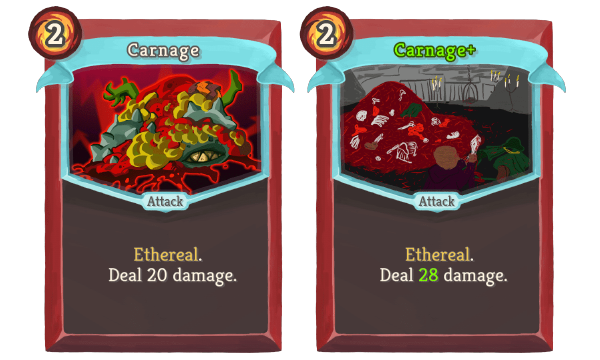
Carnage is a big damage hit, one of the best early game attacks. Compared to Bludgeon, it's less risky to use Carnage as you will have an extra energy for block. Or, you can spend one energy on Thunderclap attack to make enemies vulnerable and deal 30 or 42 damage.
Another good thing about Carnage is that in the later game, if you don't play it, it just exhausts itself and gives more blocks with Feel No Pain.
Rank: A
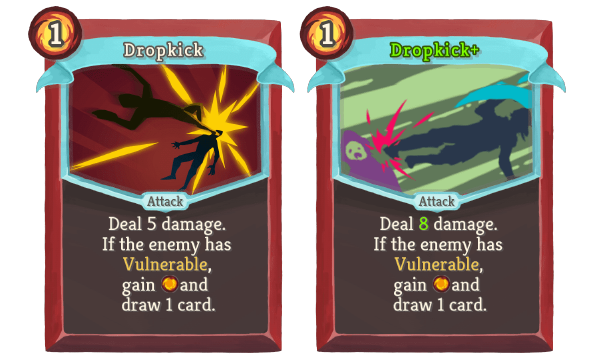
Dropkick gets better the smaller your deck is. It can lend itself to making infinite combos, does need a reliable source of Vulnerable and some ways to exhaust remaining cards to work.
Rank: C
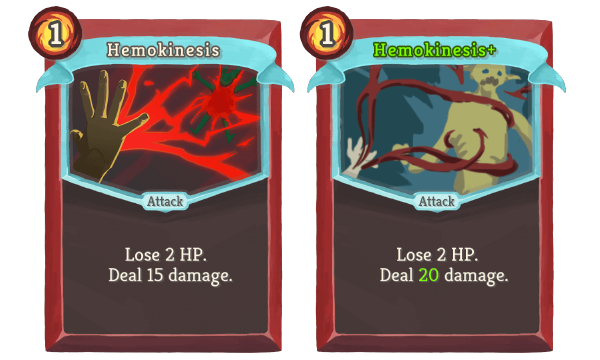
Hemokinesis does most damage for 1 energy without any setup. This superiority comes with a small hit point price. Just like the Bloodletting, often you're able to deal so much damage with the card, that it means you've saved energy to spend on making up for the hit point deficit.
Upgraded Hemokinesis carries Act 1 delivering insane 30 HP hits on Vulnerable targets.
Rank: A
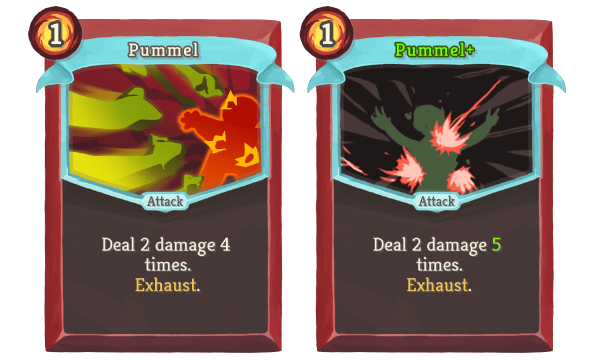
Pummel is one of strength-scaling attacks that out-scales Heavy Blade. Its exhaust effect can be good or bad depending on how many times you want to play Pummel. Pummel is a reasonable target for Dual Wield.
Rank: B
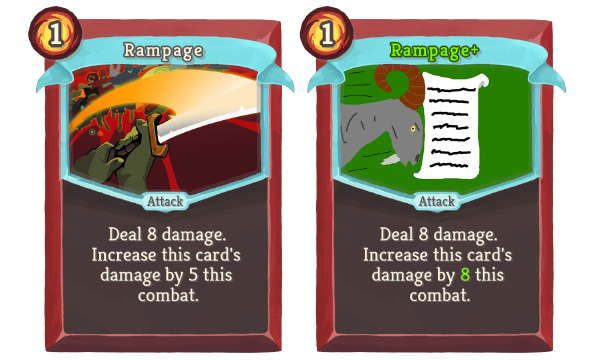
Rampage is a cool card in theory. It scales its damage each time you play it. Fundamentally, though, the problem with Rampage is that it scales in a linear, not a quadratic fashion. I would much rather Rampage double its damage each time you played it. That's what you can do with Limit Break, after all. It's just not viable to play it enough times to get it to be very large amounts of damage.
Rampage can be perfectly valid in the early game as a solution to the first couple of elites or the first boss, and it can even be a reasonable way to deal with the champ boss in Act 2.
Fundamentally, it's too expensive and too slow in its increase of damage to be a particularly viable end-game strategy.
Rank: D
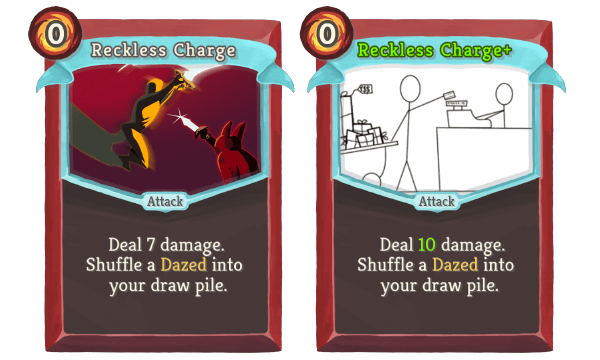
Reckless Charge is a more interesting status-generating card than Wild Strike. First, it's a zero cost attack, and the second, the status it generates exhausts, which can work with Feel No Pain.
Rank: C
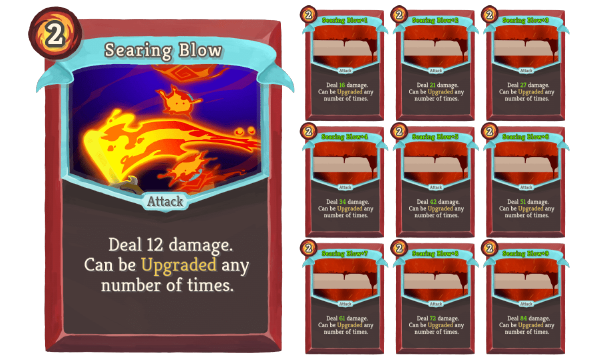
Searing Blow is stronger and stronger with each upgrade, but you need to be offered Searing Blow very early in your run, and you need to upgrade it very many times for it to be worth it.
Rank: D
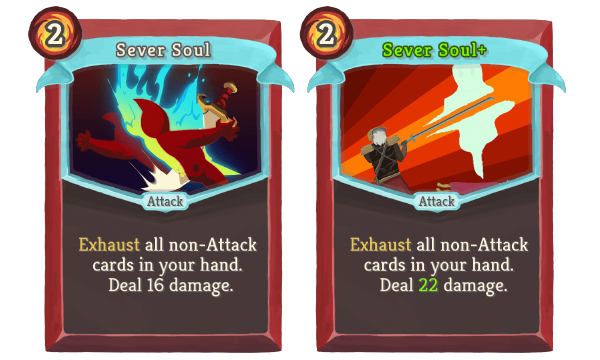
Sever Soul is actually not that bad in its own effect it does. The problem with Sever Soul is that it's mostly outclassed by other cards in Ironclad. For two energy, 16 damage is just worse than most of the other things you can do for that price. Overall, it doesn't do a lot offensively.
Sever Soul works well with Clash or Power Through. You just need both of the card to appear in the hand at the same round.
Rank: D
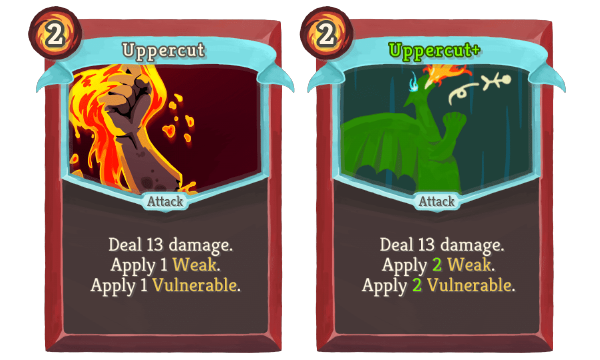
Uppercut is a pretty good at debuffing enemy with Weakness and Vulnerable. It's much better with an upgrade, inflicting two turns of debuffs for two energy.
It's a very nice addition to your deck and works well on every stage of the game.
Rank: A
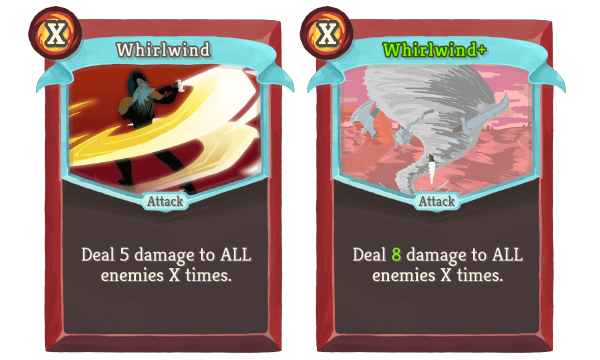
Whirlwind is one of the weakest AoE damage dealing attacks. It's pretty bad at the start, but some relics make it incredible. Some examples:
- Akabeko: +8 damage on each of multiple hits
- Necronomicon: Dublicates 2+ energy usage
- Chemical X: 2 additional attacks for free
- Orange Pellets, Ornamental Fan, Kunai, Shuriken: relic effect triggers even on 0 cost attacks
It scales well with strength and high energy reserve, and fantastic if you're trying to go fast.
Rank: B
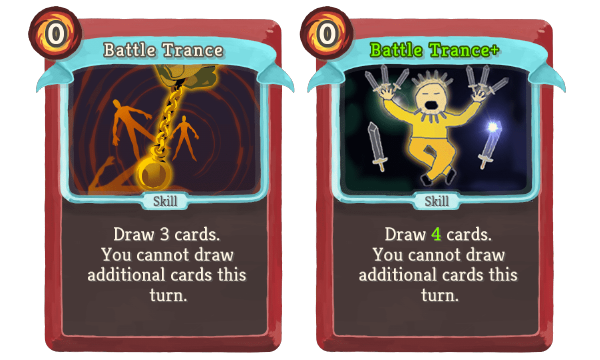
Three cards from draw at zero cost: Battle Trance is basically a free card draw.
It's nice to have at least one copy of Battle Trance in the deck, but it's not an always take when you have many other means of drawing like Offering, because it does prevent you from drawing future cards on that turn. And you don't want to spend Artifact on its debuff. In most cases, though, Battle Trance is a fantastic card.
Rank: A
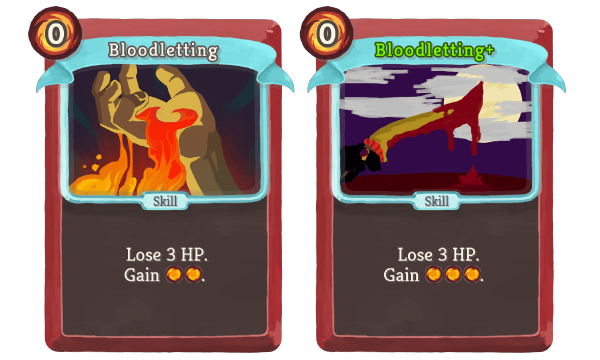
With two energy gain for zero cost, Bloodletting is a decent energy generator for Ironclad. It does cost you health, sure, but consider that with two energy spent you can often save significantly more than three health.
Does need card draw to support it, and works better with high-cost cards.
Rank: C
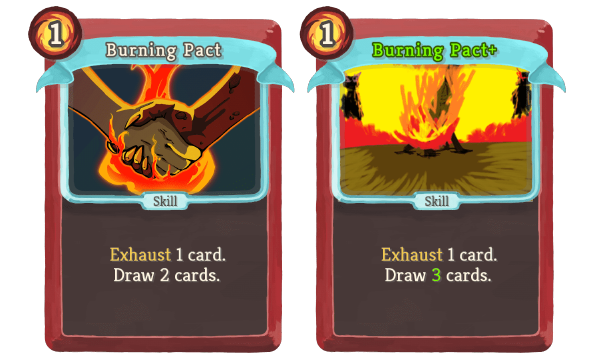
I really like Burning Pact, the more I play with it. It doesn't feel like it draws enough cards, but that's what Dark Embrace is for, I suppose.
Getting rid of wounds, curses, burns or weak cards like Strikes is always useful. Exhausting is even more powerful on Ironclad if synergized with his powers and relics.
Rank: A
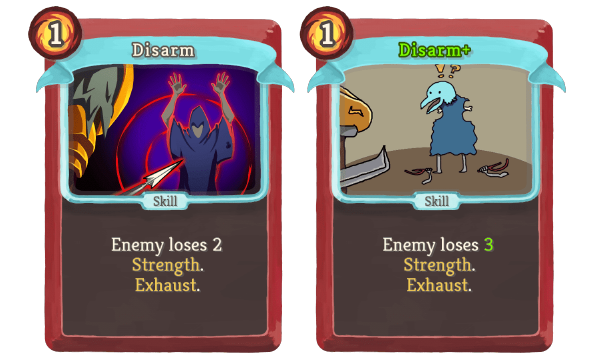
Disarm is a one-card defensive solution to a number of fights. Against slow strength-scaling or multi-attacking enemies like Book of Stabbing, Snake Plant and even the Heart, Disarm saves a massive amount of block by reducing those enemies' strength.
Rank: S
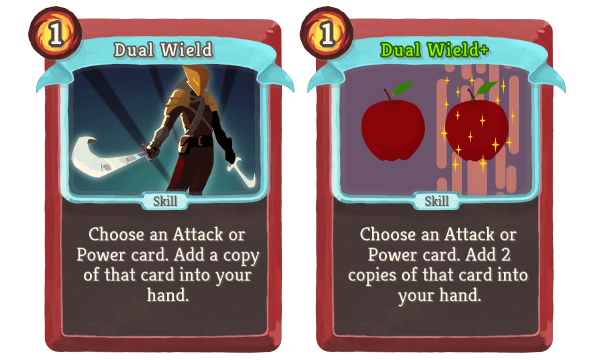
You can copy cards, whether they be powers or attacks, at their current cost. A funky thing to try with Dual Wheel is to make a card cost zero with Sneako Eye, Madness or Mummified Hand, and then make copies of that card.
Dual Wield needs to be in the same hand as the card you're copying, and you need to (unless they are zero cost cards) be able to pay the combined energy cost of all the copies you've just made, which tends to be a little difficult to do, making Dual Wield a little bit tricky.
Rank: B
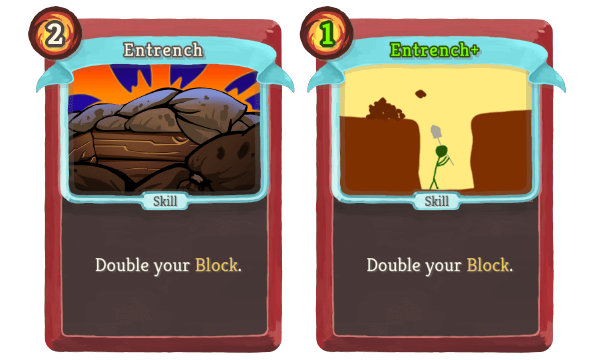
Entrench, which doubles your block, can be a problematic card at times, just like Dual Wield: it needs to be in a hand with other block cards in order to function.
If you have the ability to retain your block with Barricade or Calipers, that is when Entrench really shines and becomes a game-winning solution.
Rank: C
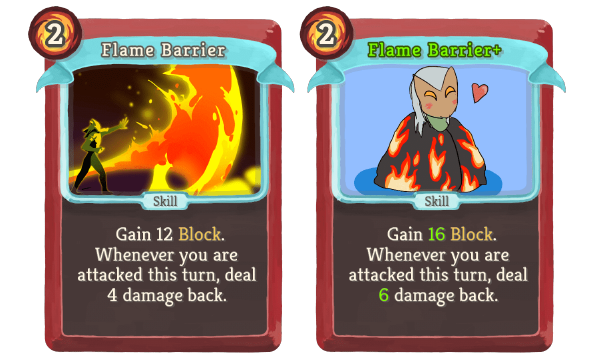
Flame Barrier is a little expensive to pay for, but 12 Block for 2 Energy is not a bad deal, and because the card also does damage, Flame Barrier becomes a numerically efficient card, particularly if enemies are attacking more than one time. You'll get maximum Roasty Toasties from Birds, Book of Stabbing, the Heart, few things like that.
Rank: A
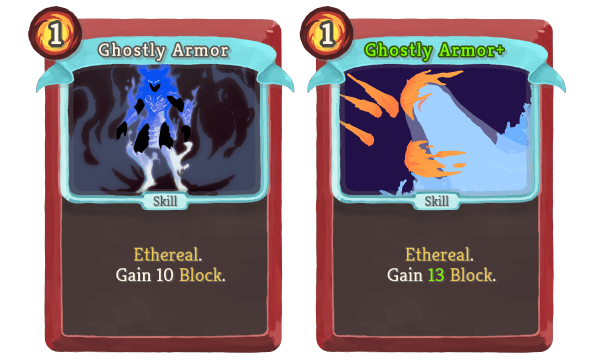
Ghostly Armor provides a very efficient block, 10 for 1 Energy is great. Ethereal property on this card is a little annoying: you lose the block card if you don't play it, but what if you want it later?
Rank: B
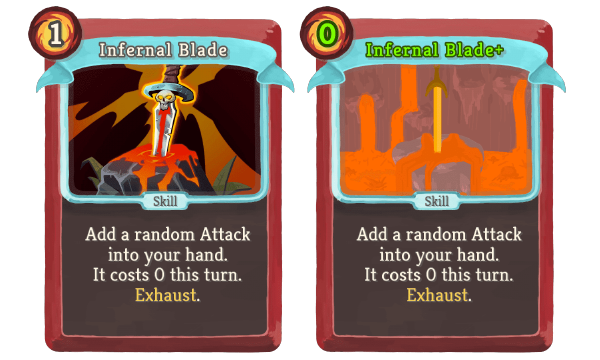
Random Ironclad attack for one or zero energy cost is a bit of a mixed bag. It's pretty good on average; sometimes you'll get a free Bludgeon. Note that Infernal Blade cannot give you healing cards like Reaper or Feed, so don't rely on that outcome.
Infernal Blade is a very rare choice for a consistent high win rate. It might be pickable if Dead Branch relic is present, just as a free skill to burn.
Rank: D
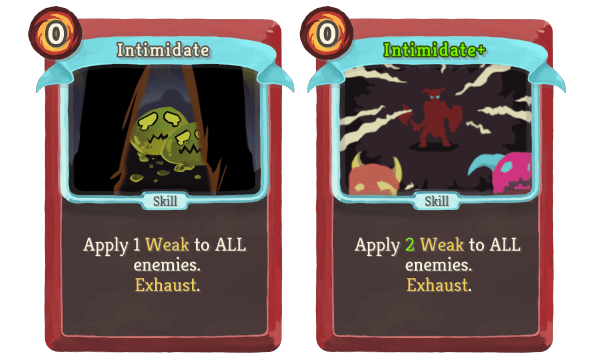
Inflicting just one Weakness to all enemies, Intimidate is a relatively low impact card. The upgrade to this card makes it twice as effective, extending Weakness to 2 turns on all enemies.
Intimidate can't always justify its inclusion in the deck. It's just not a lot of effect for one card drawn unless you're able to draw a lot of cards each round.
Rank: D
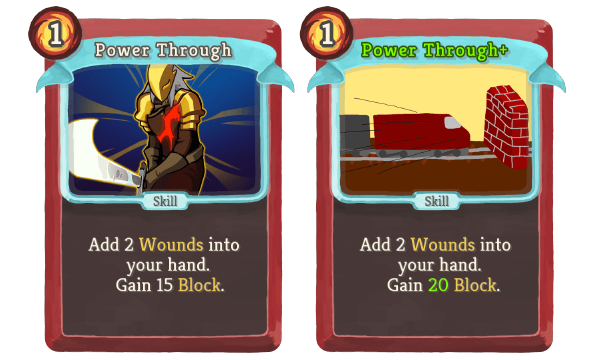
Power Through is one of the cheapest block cards Ironclad has: 15 or 20 blocks for one energy is just astounding.
It comes with a downside of putting two wounds into your hand, though. Your hand is probably the best place you can put these status cards, you'll discard them at the end of your turn and won't see again for a long time, providing you enough time to play Evolve or Fire Breathing. While the wounds are in your hand, you can also exhaust them with Second Wind for more block.
The combination of these two or more cards (Dark Embrace and Feel No Pain) is a great block source for Ironclad; just one copy of each of these four will solve your blocking needs for any fight in Slay the Spire.
Rank: A
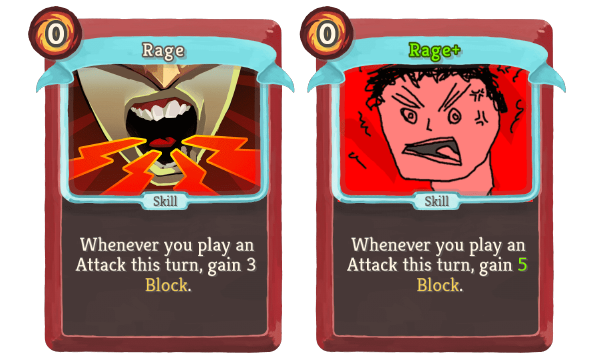
Just like Flex, I appreciate the inclusion of a zero cost card for Ironclad, but it is problematic to get Rage into your hand on the same turn as a lot of attacks, so Rage ends up being a little unreliable unless you have a Runic Pyramid.
Rank: C
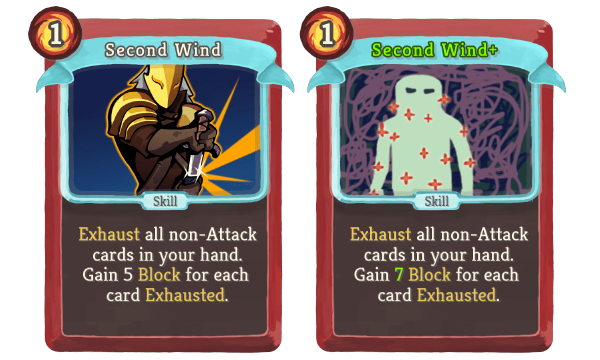
Second Wind is a great addition to an exhaust-oriented deck. Combined with Feel No Pain, a single use of Second Wind is enough to start your Barricade fortification.
Second Wind becomes an essential part of Runic Pyramid deck by getting less valuable cards out of hand.
Rank: B
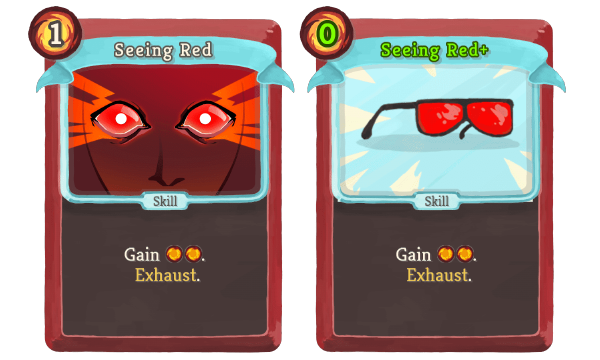
Seeing Red is probably one of the less good energy generating cards on the Ironclad.
It's only a one time use, and it's only plus one energy, unless upgraded.
It's good with Feel No Pain or Dark Embrace. Corruption makes it essentially upgraded for free.
Rank: C
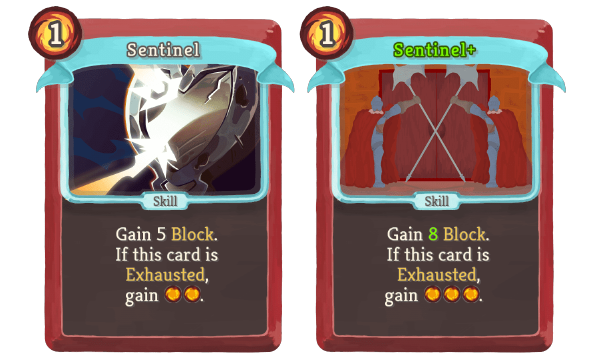
Sentinel falls in the same boat as Searing Red, being a way to gain 2-3 energy if you can exhaust the card.
Sentinel is good with Burning Pact or with Corruption, but on its own just as a five block card? Not so good.
Rank: C
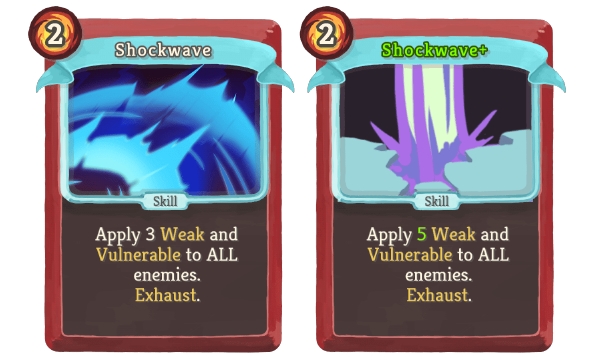
Shockwave is the best debuffing card in the Ironclad's arsenal, both the best weak card and the best vulnerable card that the Ironclad has, especially if you upgrade it to five of each debuffs.
One upgraded Shockwave or two unupgraded Shockwaves is usually all the debuffs you'll ever need.
Rank: A
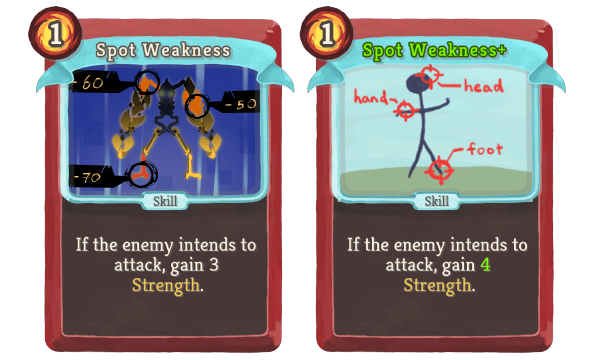
Spot Weakness is a beautiful offensive tool for the Clad. It provides more strength than Inflame, but it's less reliable - the enemy has to be attacking you, and you have to target an enemy that is attacking you, particularly problematic if you have, Runic Dome and can't see who's attacking.
Spot weakness gets a lot better if you can hold onto it with Runic Pyramid, or if you've got a lot of card draw, so that you can control when you play it.
Rank: B
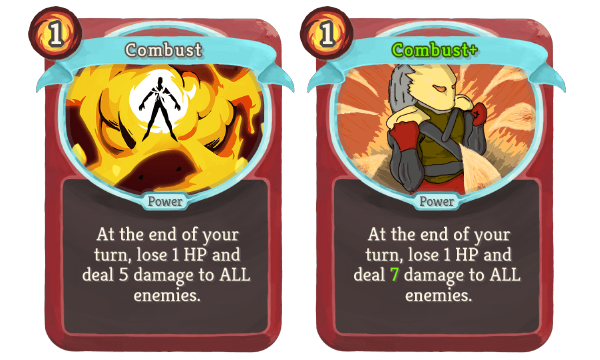
Combust does area of effect damage and slowly damages a player. The one hit point per turn can be daunting, but give it a try - you'll find that most combats don't last more than a few turns once you've played Combust. Good for patching a weakness to multi-enemy fights in a Clad deck, but a little slow.
Rank: B
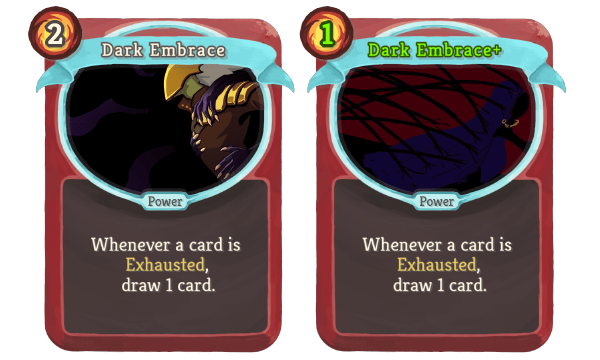
Dark Embrace is one of the most powerful draw cards that Ironclad has access to. It is nice to have at least one copy of this card when exhausting all the hand with Fiend Fire.
Dark Embrace synergies with some of the other very powerful cards on Ironclad extremely well.
Rank: A
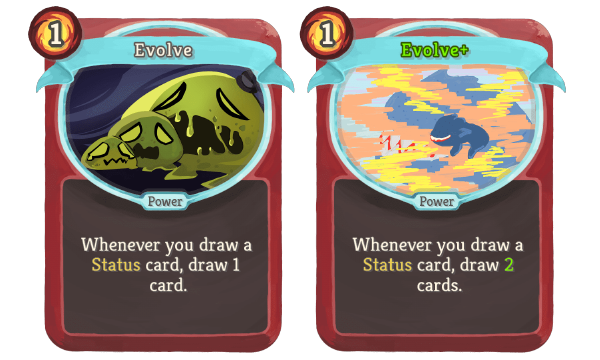
Evolve is useful across the board because many enemies add status cards to your deck.
Evolve makes these enemy encounters much easier:
- Sentries
- Slimes and Slime Boss
- Chosen
- Book of Stabbing
- Repulsor
Evolve synergies incredibly well with Ironclad cards that add statuses to the deck.
Rank: A
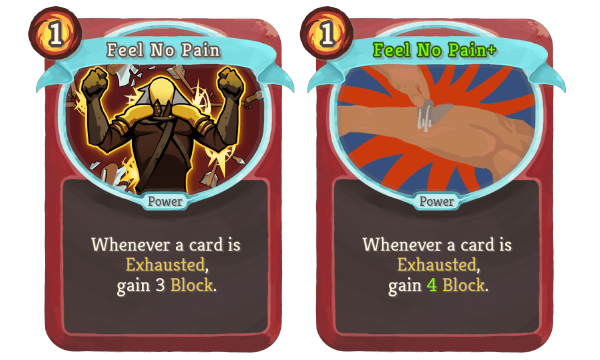
Feel No Pain gives you block whenever a card is exhausted. Count the number of cards in Ironclad that contain the word "Exhaust" and you'll find it's actually about a third of the cards. This means that it's quite easy for the Ironclad to build an entire block strategy around this one card. All you have to do is exhaust a lot of cards every combat, and you will be in Block City before you know it.
Rank: S
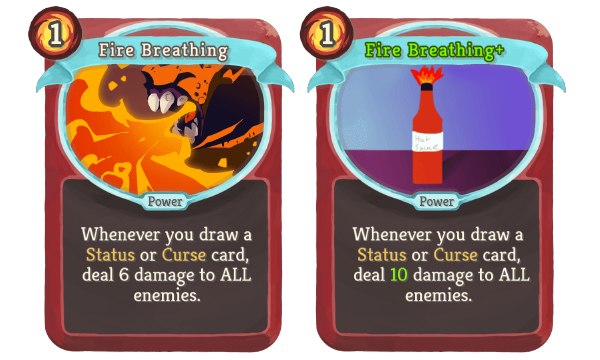
Fire Breathing provides good AOE damage and is very hilarious when it works, but I find it to be a little unreliable.
A deck that benefits from curses and statuses comes with a downside of cluttering a hand without defensive solutions. It works much better with Evolve and larger card draw, but still may result in a failure, having it appear too late in a hand.
Rank: C
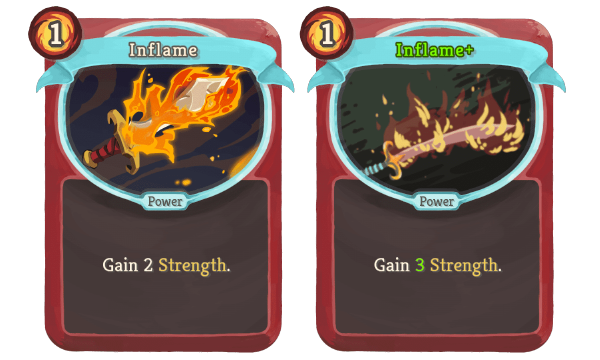
Inflame is straight up strength gain. Inflame is very good, especially in the early game. Taking more than one copies in your deck isn't a senseless decision.
Rank: A
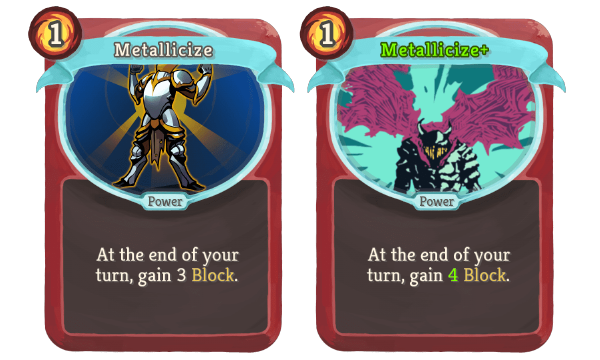
Metallicize can be good in the early game, but overall, Metallicize ends up problematic because it doesn't have the ability to scale its power up into the late game in any way.
Most enemies in the late game will require more block than you can feasibly provide with this card, and you can't make it block for more than four by any means, other than playing more copies of Metallicize.
Rank: C
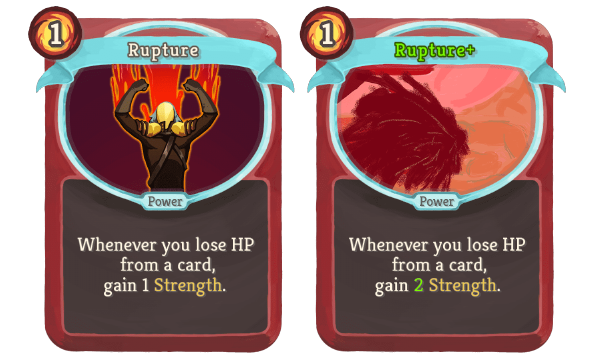
Rupture is relatively inexpensive power card. You have to lose health from one of your cards in order for Rupture to give you strength.
There are a few cards in Ironclad's pool that'll do that: Bloodletting, Combust, Brutality. You can also take damage from playing Cursed Cards with the Blue Candle Relic, or from Cursed Cards in general.
These combinations do a lot of damage to the player, but strength gain speed can be enormous.
Reaper works with Rupture very well: restoring all the HP lost in the end of the fight is another game-winning approach.
Rank: B
Rare Ironclad Cards
There are 16 red cards in Ironclad Rare cards pool: 5 attacks, 5 skills and 6 powers.
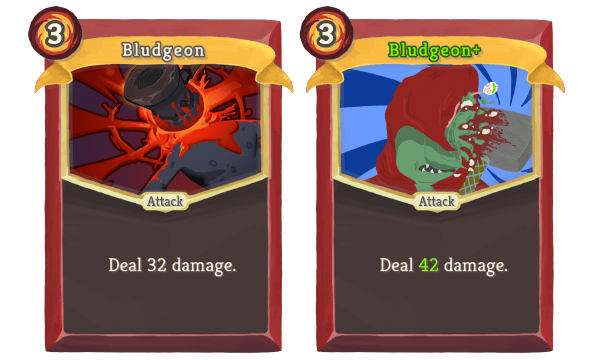
Bludgeon is a huge damage card. Simply dealing a ton of damage without much setup works well in most cases, especially in the early game. Upgraded Bludgeon kills almost anything in Act 1, excellent against the Slime Boss for better split.
It's less relevant the later you are in the game, but if you can make it free, or you just have a lot of energy to spend, then it can be a pretty good way to deal damage.
Rank: A
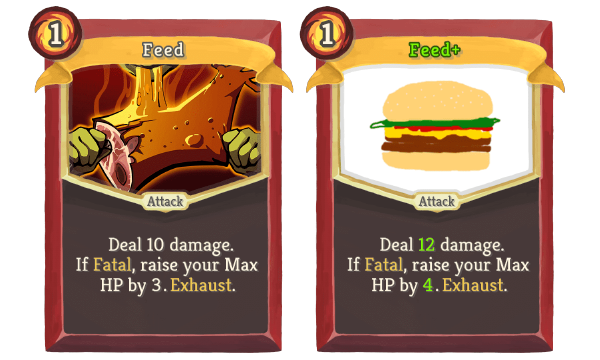
Feed is an incredible way to scale Ironclad's max health, allowing him to gain a permanent advantage from every fight.
Feed can easily boost Ironclad's health over 100 points, or even over 200 if you're particularly diligent with it. Getting so much health that you can just take all the damage from bosses to the face and have no problem with it.
The only time Feed is bad is when you get it too late with little fights remaining to use it.
Rank: S
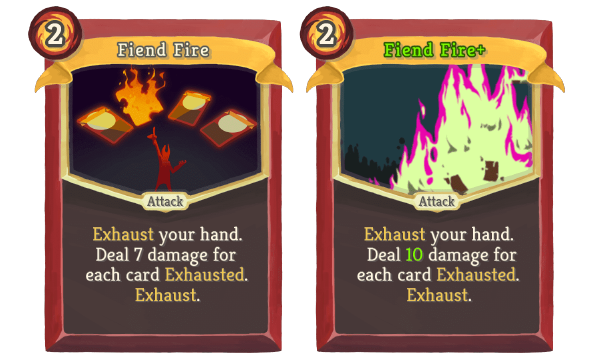
Fiend Fire benefits from exhaust and strength, all in one card. So no matter what your deck is synergizing with, Fiend Fire is likely to be very effective.
Where other Ironclad cards can benefit from strength four or five times, Fiend Fire can do up to nine times your strength in damage, plus the base damage for each card in your hand. And each of those cards being exhausted can activate exhaust effects, be it from one of these S tier powers or from a relic.
Rank: S
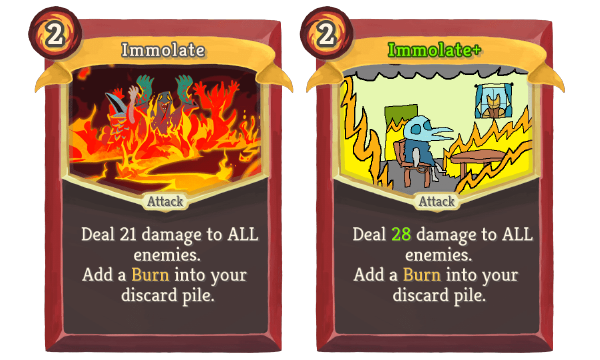
Immolate, without any doubt, is the best area of effect damage card. It just does the most damage, has a fantastic upgrade for plus 7 damage.
The burn that it puts in the discard pile is often irrelevant, as many fights will be ended before you'll draw it. Wonderful card.
Rank: S
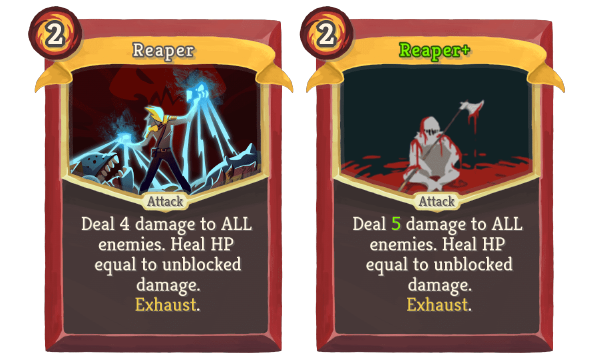
Reaper does damage and gives you health back equal to the damage you dealt.
You need some strength for Reaper to feel fantastic. The best card to combo with high strength. Works even better if you can get more max health via, say, Feed.
Rank: S
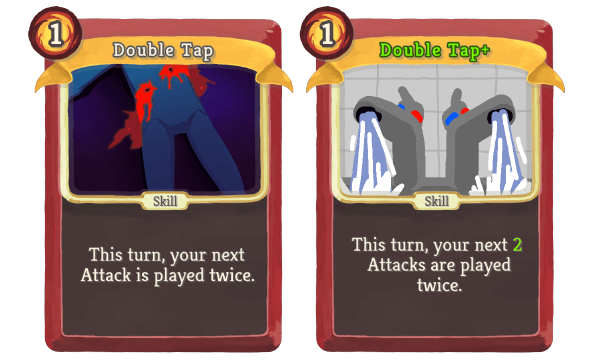
Double Tap lets you duplicate attacks. A lot of Ironclad's best scaling comes from non-attack cards, though, and double tap ends up being just not quite as high-impact as you might want it to be.
Double tap does some pretty sweet stuff if you combine it with Reaper, Immolate, Bludgeon, Whirlwind, just to name a few. What makes Double Tap bad are low odds of having it alongside your desired attack, especially in the default five-card draw hand.
Rank: C
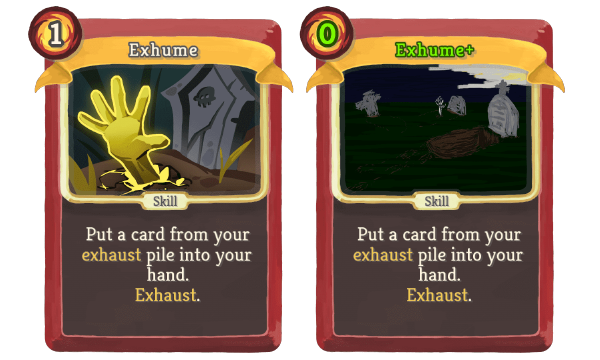
Exhume puts a card from your exhaust pile back into your hand, basically letting you duplicate any one of your exhausting cards.
It's pretty flexible, works well with Feed, Ritual Dagger and other cards that more reasonable to have as a single copy.
Rank: A
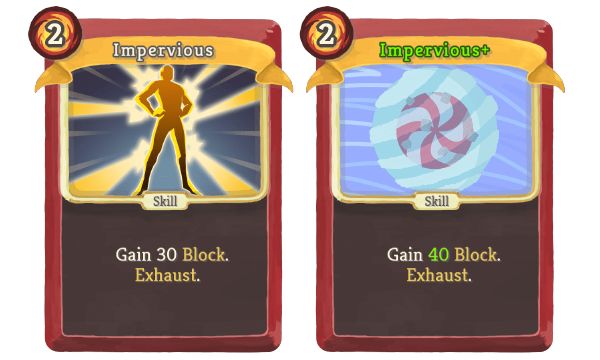
Impervious is a great way to get a block engine started, with its enormous amount of block. Two energy completely justifies the cost, and the only downside of Impervious is not being reusable.
Rank: S
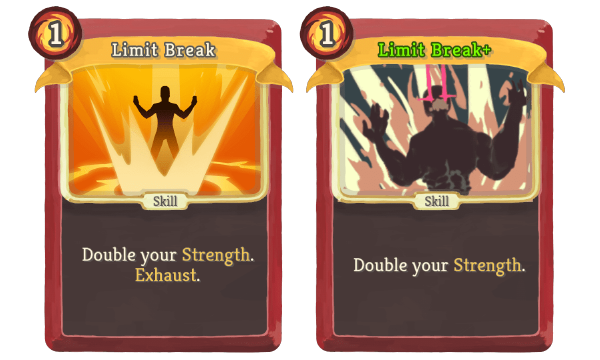
You have to have the strength in the first place for Limit Break to be good. Among all the strength cards, Limit Break is the one that can get the run craziest.
Upgraded Limit Break does not exhaust, which means you can play it over and over again; combo it with Headbutt or with a lot of card draw, and you're going to have a good time.
Rank: A
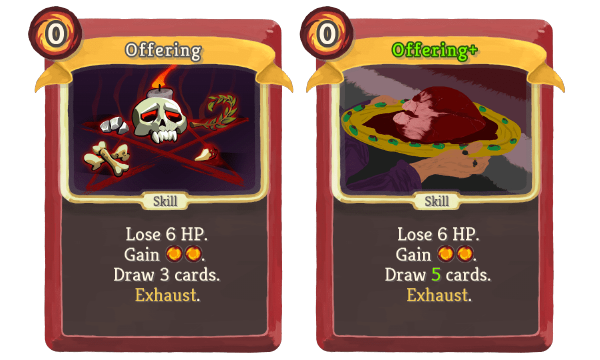
Energy and draw Offering provides, lets you play almost an entire extra turn worth of cards.
You can either play so many attacks that you can just kill your enemy on that turn, or it lets you set up all of your powers, defensive or scaling pieces.
Rank: S
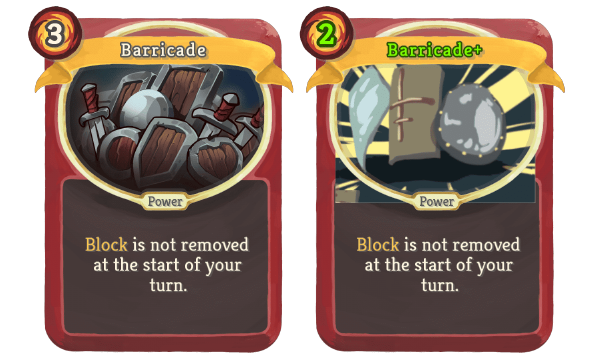
Barricade is a big, expensive card at three cost, letting you retain block from turn to turn.
Barricade can be an incredible way to keep your block from turn to turn, but if you're not able to generate excess block, then Barricade does absolutely nothing for you.
This card becomes particularly useful in the late game when enemies deal very large amounts of damage, but frequently have turns where they do not attack you.
Barricade is definitely not for the early game, but can become an important part of a core strategy and let you win the game later.
Rank: A
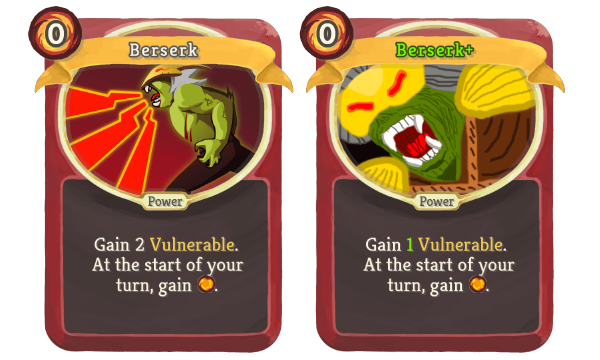
The fundamental problem with Berserk is that you pay an immediate downside for a long-term upside, which is the opposite of how you want cards with downsides to go. Usually you want to take an immediate upside with a long-term downside.
Berserk could be a lot better if there is a way to guarantee it on the opening hand with Bottled Tornado, because turn 1 is usually relatively low damage thrown at you.
With Runic Pyramid, you can play it on a specific turn when no enemy attacks you. Fantastic with Pellets, as you only need to use one skill and one attack to get rid of Vulnerable.
Usually there are easier ways to gain energy on this character without any setup, whether it be through relics or through different cards.
Rank: D
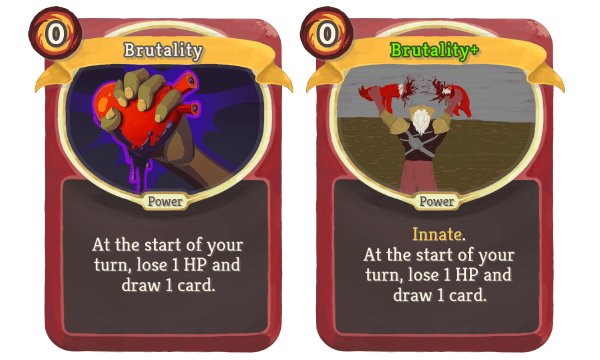
Brutality provides a similar to Berserk exchange. It's a zero-cost power that slowly damages you and gives you one more draw each turn. The downside of Brutality is comparatively minor, and can even be turned to your advantage with Rupture power card or Self-forming Clay relic.
Upgrading to Innate is very recommended to get more value before the fight is over.
In general, I appreciate one draw per turn from this card, especially for longer boss fights.
Rank: B
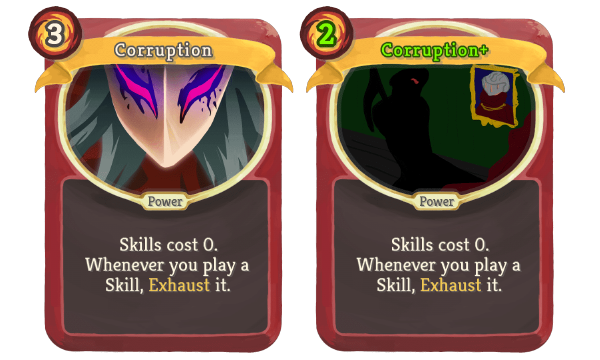
Although Corruption costs a lot, it makes all of your skills free. This often means that the three cost of corruption pays itself back instantly with other cards in your hand.
A big concern with playing with Corruption is running out of cards. When you're making use of Corruption, it often becomes correct to flood the deck with as many skills as you can find.
Corruption combos extremely well with other two exhaust-centric powers: Dark Embrace and Feel No Pain. Combining some or all of these together results in absolute silliness, where all of your cards are free and draw more cards, and you can just play your entire deck of cards on turn one. With Dead Branch relic, it's even nuttier.
Rank: S
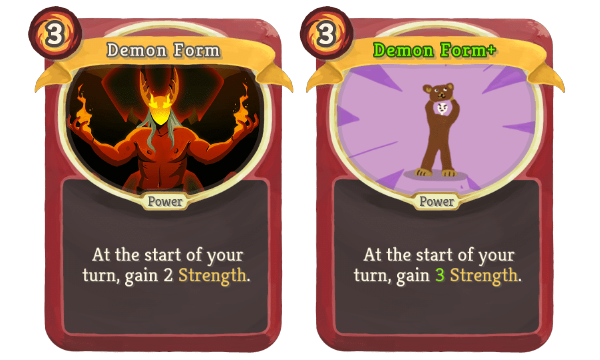
Demon Form is the most unwieldy of the strength cards. It provides is a ton of strength, but ultimately too costly to pay. Three energy means it's almost impossible to put it in play without taking damage, and you have to wait multiple turns before Demon Form provides a sizeable amount of strength.
Demon Form is excellent against bosses or in any other long fight; the earlier you draw it - the better. It can be used in hallway fights to regain health with Reaper.
Rank: C
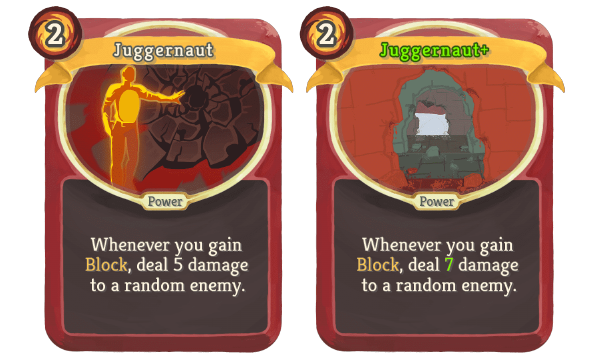
Juggernaut is an interesting damage card. For Juggernaut to do lots of damage, many small sources of block are needed. Combined with Metallicize, Feel No Pain, or with various relics that add block, Juggernaut becomes fantastic.
It's not that great in the early or middle game - two energy cost makes it a little bit unwieldy.
Rank: C
Conclusion
Leave comments if you have different opinion of the card rank or there are mechanics that were missed in the card explanation.

